Showing posts with label craft. Show all posts

Wednesday, February 4, 2015

DIY Open When Letters for Your Spouse

When I was making the 12 Days of Christmas Gifts for my husband, I struggled to think of something for Day 11... which is where these fun "open when" letters came in.

I had seem these floating around Pinterest for quite a while and had wanted to make a set for Dan... but I just didn't have any reason to. What better time for a fun DIY gift than the 12 Days of Christmas?!

Dan and I have been writing handwritten letters to each other for years. Since we lived apart from each other for the first five years of our relationship (and long distance for one of those years), it's just something we do. I have a decorated box of all of the letters and cards I've received from Dan, and he has mine in sheet protectors in a binder. We also wrote each other letters the night before our wedding (we were not together). We sealed them up in the middle of our ceremony in a box with a bottle of wine, and we plan on opening them either on our five year anniversary or when we need to remember all of the emotions and love we were feeling the night before tying the knot!

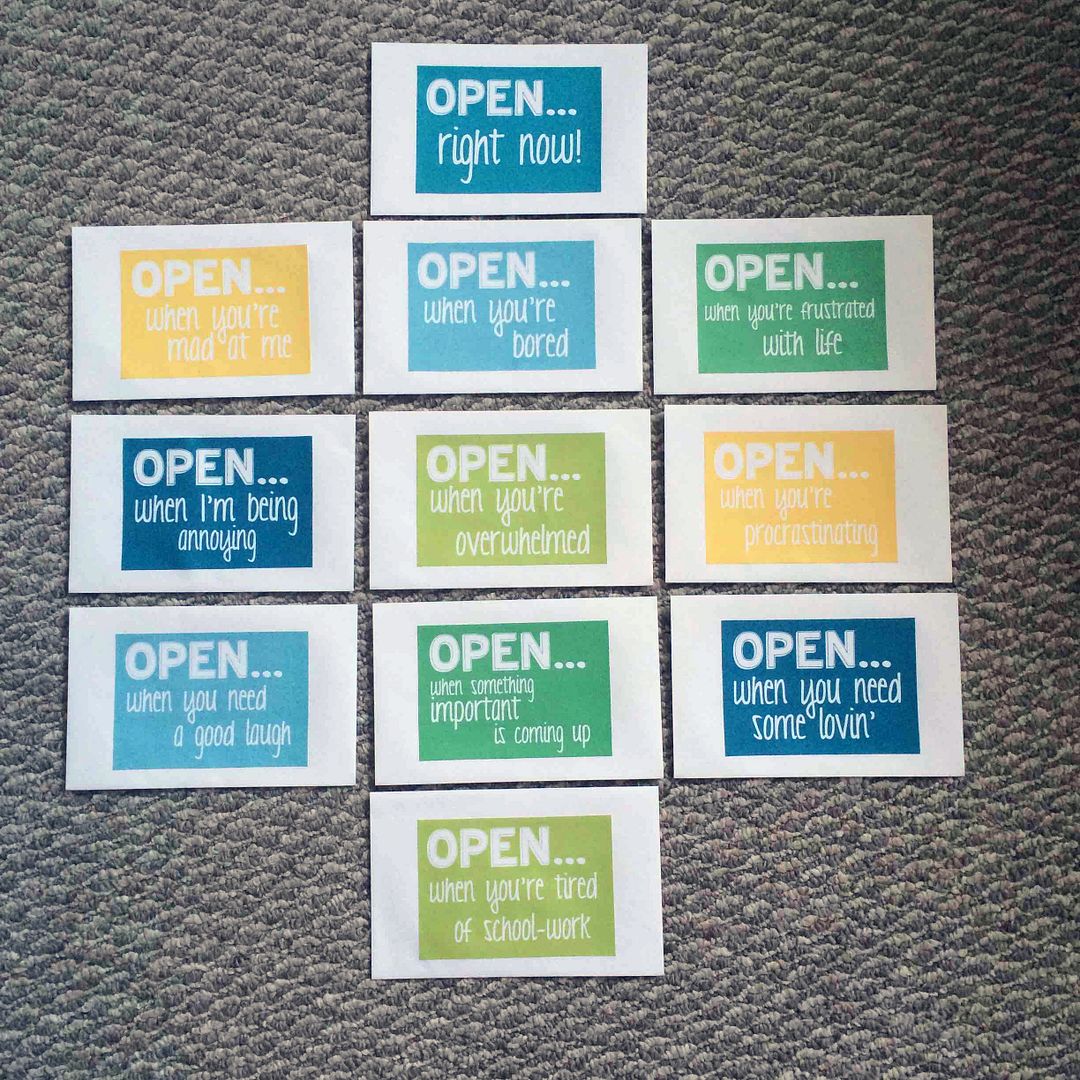
For this project, I started by creating 11 different labels - or the categories I wanted to write letters for. I tried to make them colors he would like rather than my favorite colors. It was fun to come up with the topics, but my husband did tell me that he'd need about a thousand of the "when I'm being annoying" letters. Oops.

I printed out the labels on cardstock and then glued them to plain white envelopes with a glue stick. Nothing fancy over here...

Inside each envelope, I placed a one page (or longer) letter the corresponds with the topic. I bundled them all together, wrapped them up, and gave them to my husband. He thought it was a really clever gift, and he has them sitting on his desk in his office now so he can open them when the time is right for each one!

If you would like to download my card covers, CLICK HERE for the PDF.

  • Do you and your spouse write letters to each other?
  • Do you enjoy making or receiving DIY gifts?

Wednesday, January 28, 2015

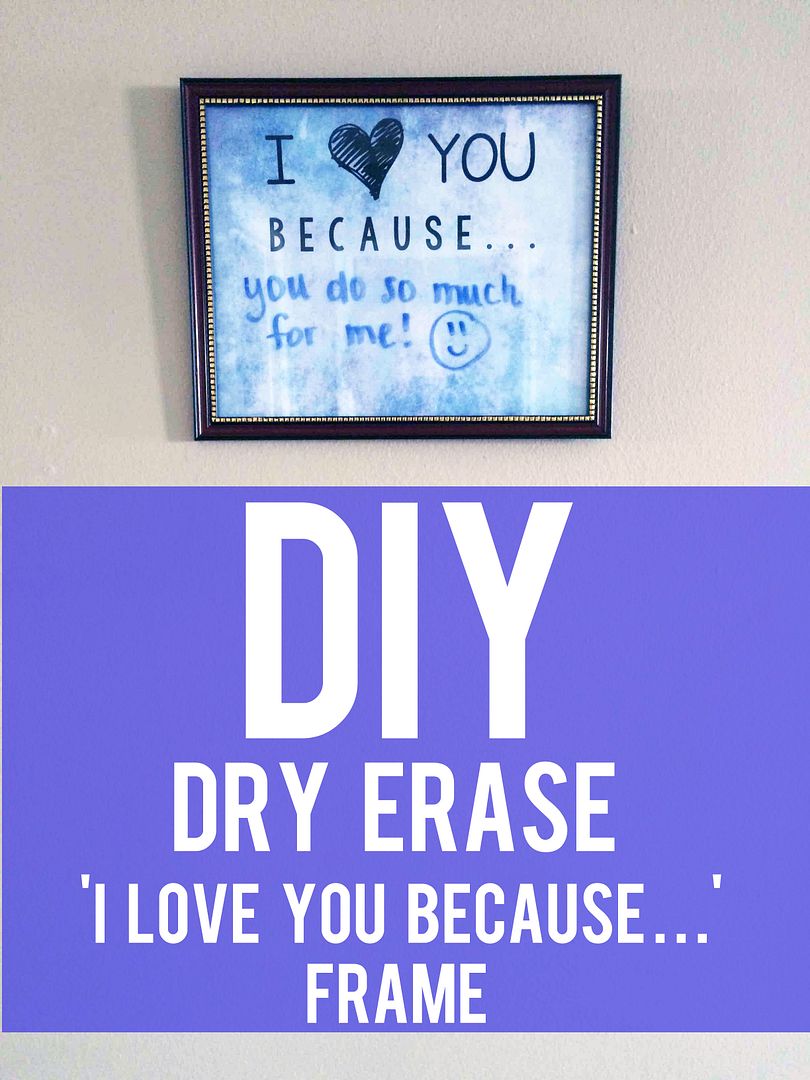
DIY 'I Love You Because...' Frame

Have you ever seen those framed pictures that people have that they write on with dry erase markers? I have loved them for a while but never wanted to pay for one... so I finally made my own!


I have a hard time making things for myself or for my own home because I feel like I'm constantly working on making things for other people through my Etsy shop.

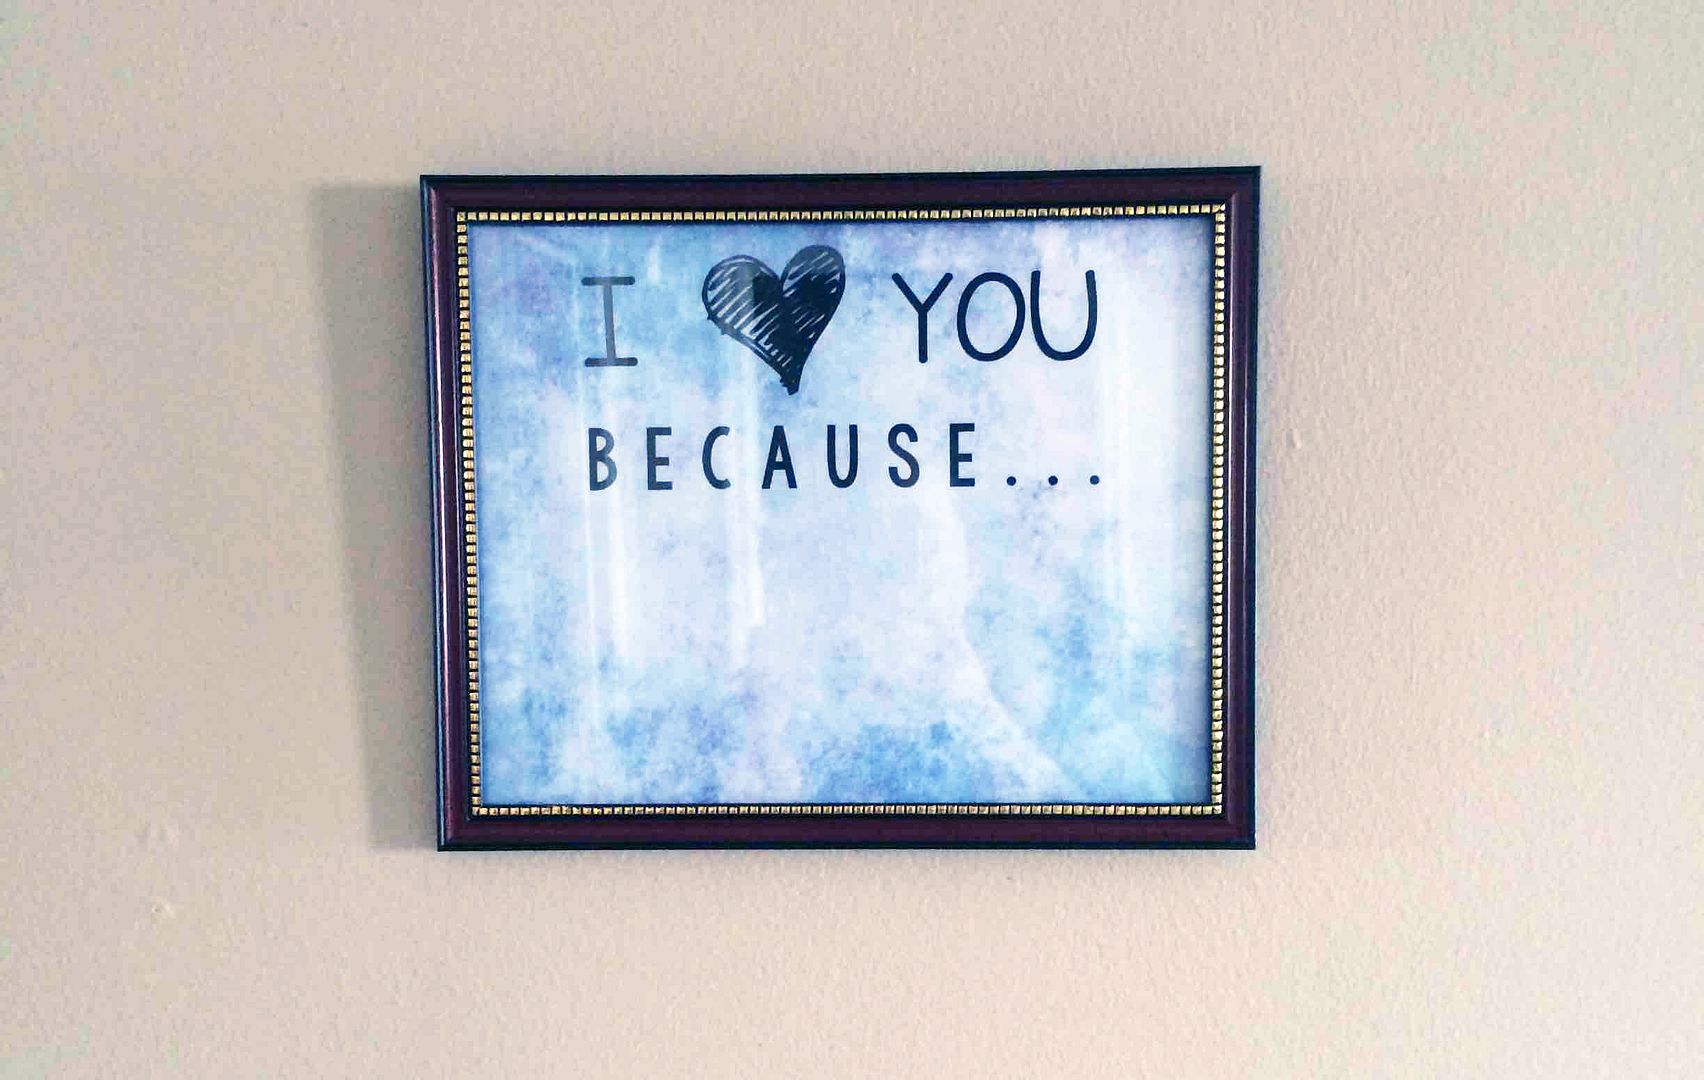
This one took five minutes from start to finish, though, and I feel great about it. You can easily make your own (even on Microsoft Word) by typing out your words and printing it on fun colored scrapbook paper... or you can DOWNLOAD mine for free and print it yourself.


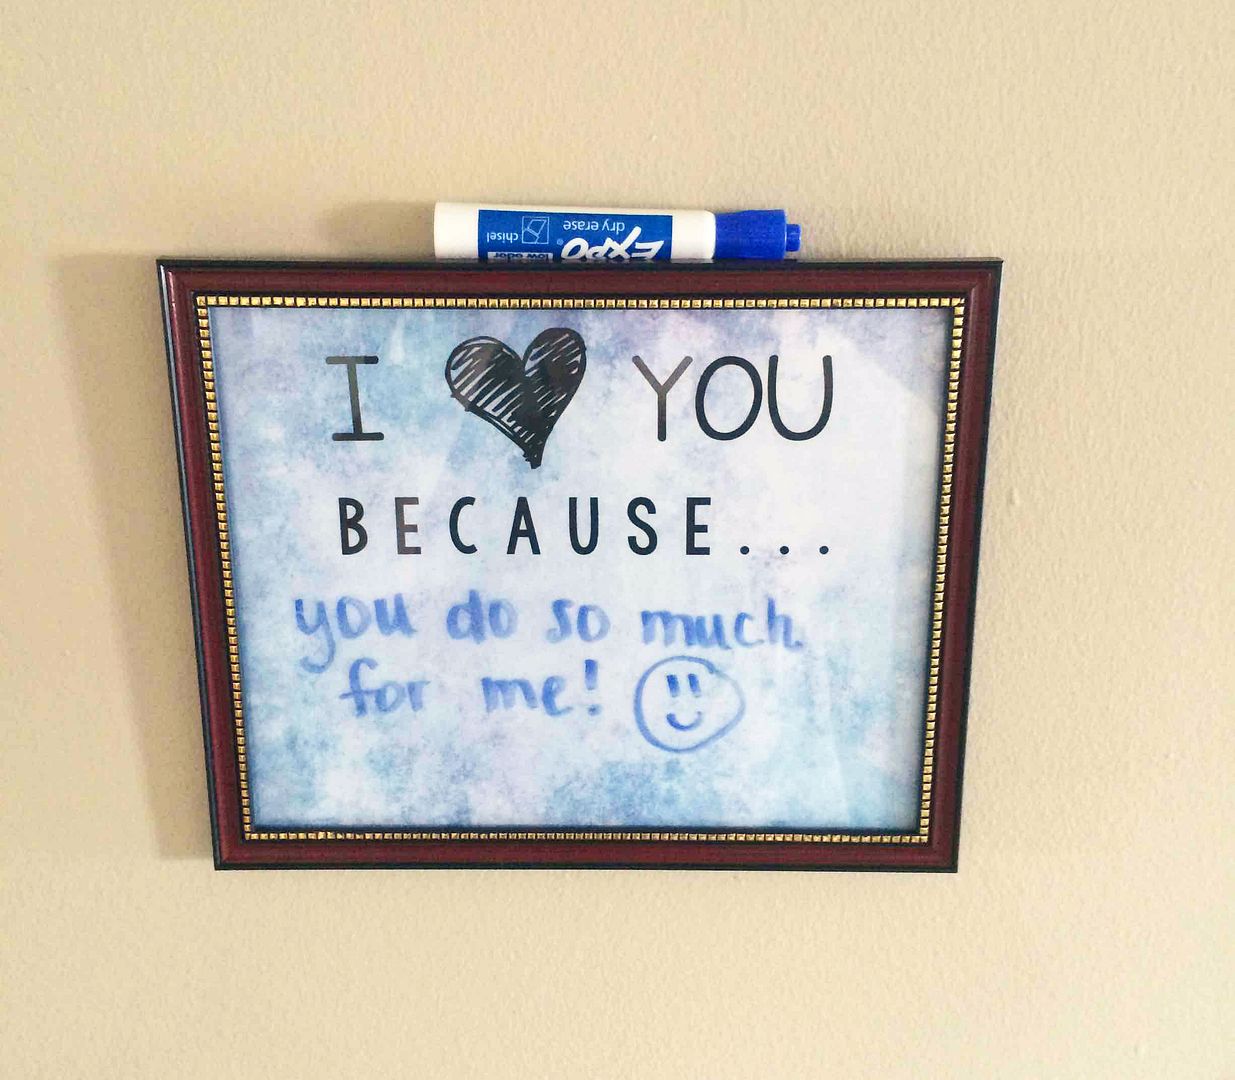
You can use any color dry erase marker (I think black works best, but I could only find blue in the moment). Your words simply wipe away with a paper towel or Kleenex, and it's so much fun leaving each other lovey-dovey messages in the morning for the other to see!

After the frame is hanging on your wall, you can even store a marker on top of it for convenience... because we all know I wouldn't be going out of my way to find a marker just to write a note... but if it's right there, why not?


Remember, you can DOWNLOAD my template if you want - just print it out on 8.5x11 paper or cardstock and trim the white borders before placing it inside an 8x10 picture frame.

  • Do you enjoy making new things to place in your home?
  • Do you often make Pinterest projects?
Wednesday, January 7, 2015

The 12 Days of Christmas: Spouse Edition

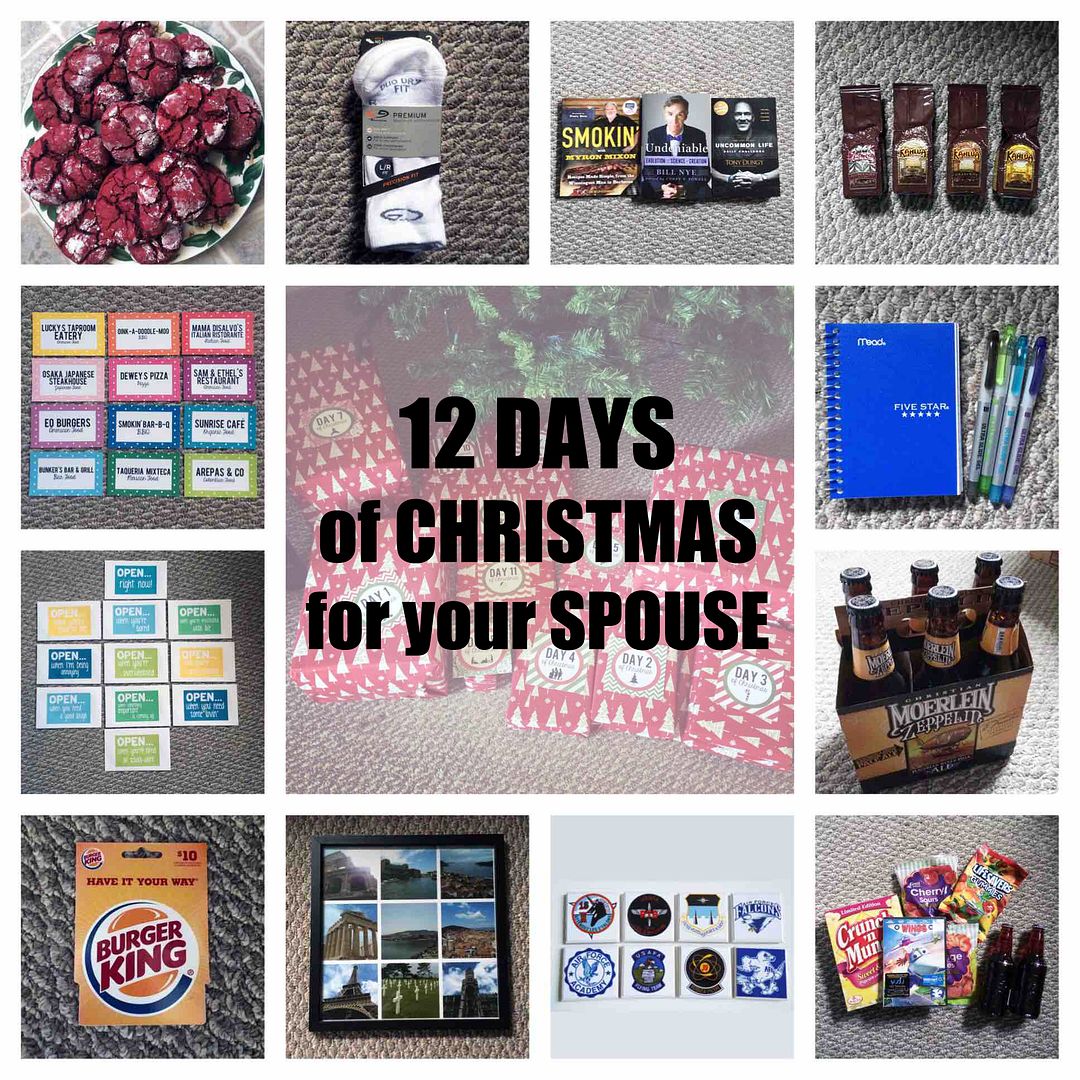
If you follow me on Instagram, this won't be news to you... but for the 12 days leading up to Christmas, I surprised my handsome husband with one gift each day that corresponded with the number for that day. Well, every day matched the number except day one. I think I'd be a pretty terrible wife if I made an entire batch of delicious cookies and only gave him one.


Each day when he came home from classes, I gave him that day's gift. He loved it, and I felt like a rockstar wife having something for him each of those days. I highly recommend doing this (or something similar - there are 14 days of Valentines as well that people do in February) because it was a lot of fun for both of us!

Here's what I did for each day... but they can easily be changed up to match what your husband loves! You don't HAVE to coordinate the gift with the day number, either - I just did that because I'm like that.

Day 1 - red velvet cookies

Day 2 - a "pair" of running socks

Day 3 - three new books

Day 4 - four specialty coffees

Day 5 - one journal and four pens

Day 6 - a six-pack of beer

Day 7 - a movie, popcorn, three candies, and two sodas

Day 8 - eight magnets that symbolize his time at USAFA

Day 9 - a collage of the nine cities we honeymooned in

Day 10 - a $10 gift card for when he forgets his lunch

Day 11 - eleven 'open when' letters

Day 12 - twelve local restaurants to try in 2015

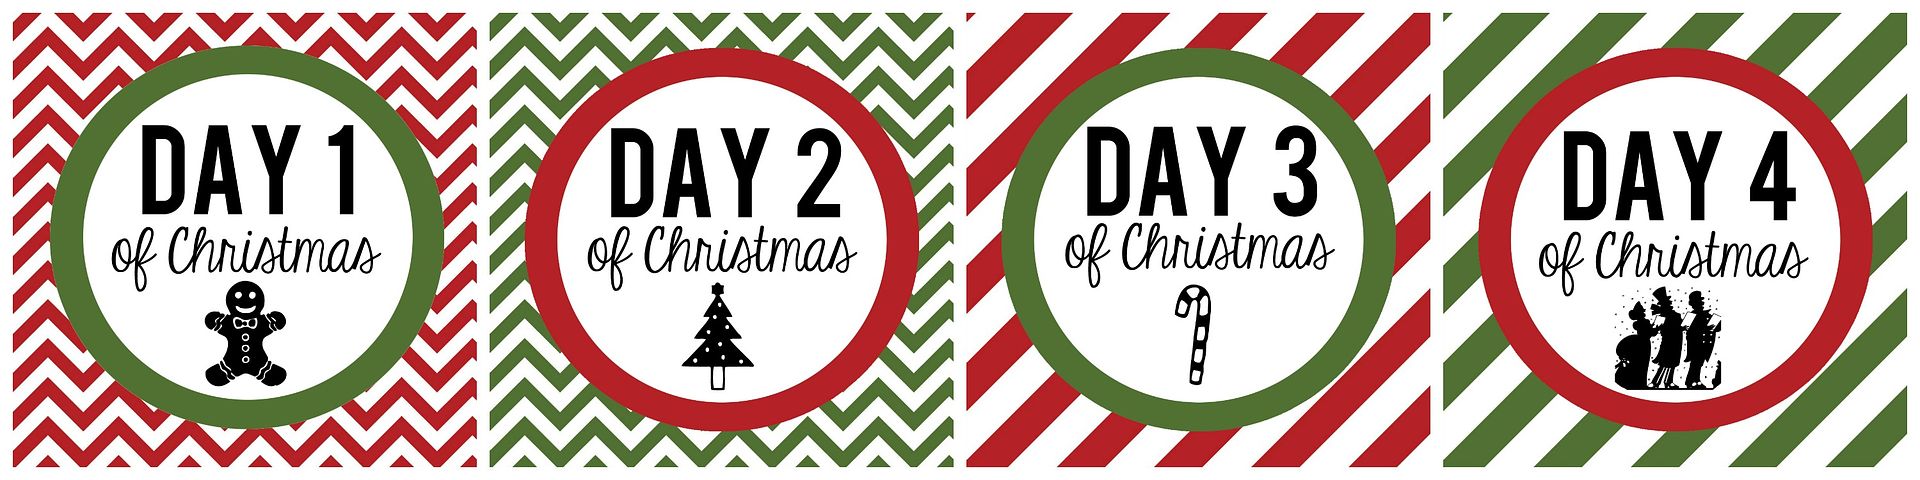
And these are the tags I made to put on each gift. Aren't they cute? I've included a link to download them in a PDF file at the end of this post!


To download the 12 Days of Christmas printable tags in full size, CLICK HERE to open a PDF - I recommend printing them on cardstock so they are sturdy enough to attach to your packages!

  • Have you ever done the 12 Days of Christmas? 
  • Do you have any suggestions for each of the numbered days?
Tuesday, January 14, 2014

Dating, Engaged, Married DIY Framed States

Today's DIY craft is something I've been wanting to share for a while. I made these last spring when I had a day off of work. However, life got busy, and I'm just now getting around to posting about them.

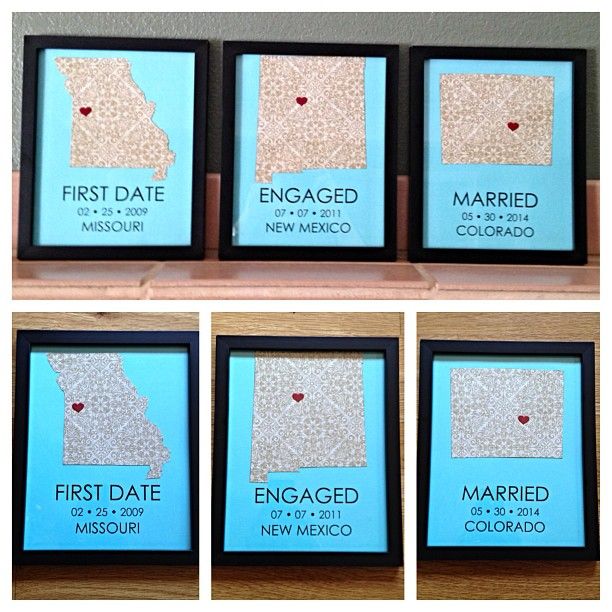
Since Dan and I started dating in Missouri, got engaged in New Mexico, and will be married in Colorado, I couldn't pass up an opportunity to make these ADORABLE prints to hang in the living room. 

I am SO happy with how they turned out, and people comment on them all the time, asking where I got them. 


To start, I bought some colorful cardstock at Hobby Lobby. I chose a textured teal color because it goes with the earthy tones in my living room but also stands out quite a bit.

Then, I picked out a patterned scrapbook paper (and bought a couple extras in case I messed up!).

When I got home, I searched on Google Images for the three different states I was looking for. I picked silhouettes and printed them on regular printer paper.

Then, I cut out the states.

After that, I glued the cut out states to the back of scrapbook paper and cut out the states again. New Mexico and Colorado were super simple, but Missouri was a piece of work!

Then, I made a template on Microsoft Word with one of my favorite fonts and practiced printing on a plain piece of printer paper to make sure it was spaced out right. Once it was, I printed the three on my teal paper. 

Now comes the glue! I actually used Mod Podge because it is sticker, and I'm used to working with it. I glued the states down as close to the middle of the teal paper as I could.

Last but not least, I added the small red heart stickers I bought for this project over the approximate location of the cities that these major events happened/will happen! 
  • So, what do you think? 
  • Would you make something like this to decorate your home? 
  • Did these three big life events happen in different places for you as well?

Friday, October 18, 2013

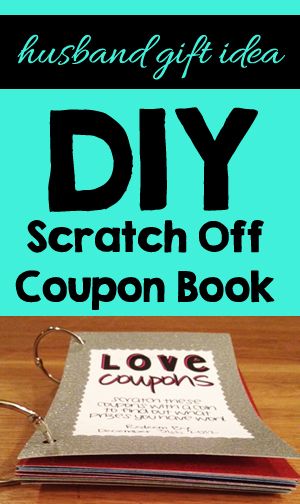
DIY Scratch Off Coupon Book


This post is overdue. And that is an understatement. What I mean is that I made this scratch off coupon book over a year ago. I gave it to my fiancĂ© last October. Yes, it's been a year. And yes, I should have shared this months ago... but hey, I am just getting around to it, so take it or leave it. 

I first got this idea when I was trying to figure out something special and unique for Dan. I feel like I'm always giving him things I make, and while I know he enjoys them, I wanted to do something different. This coupon book won. 

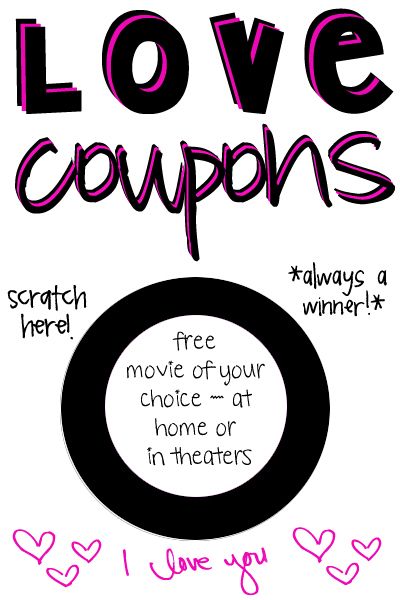
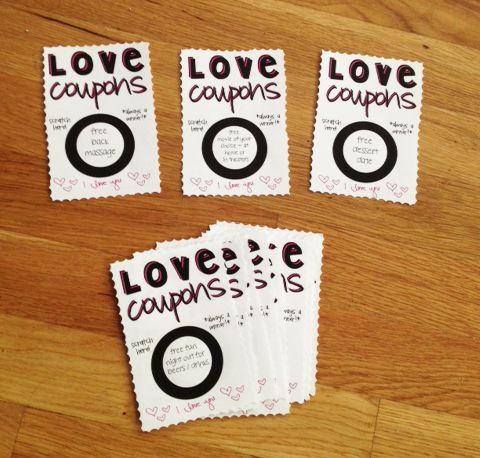
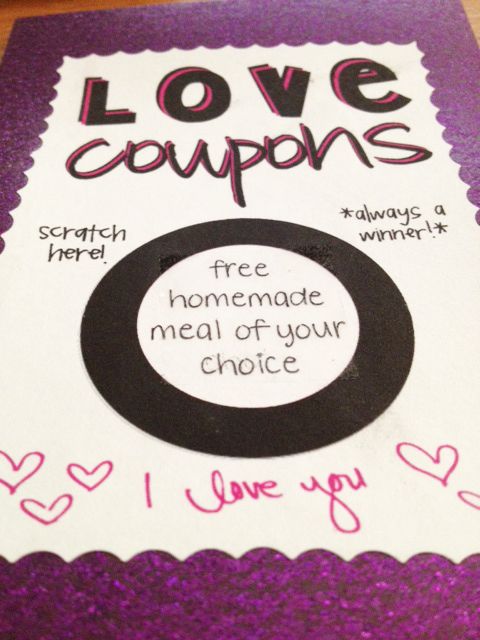
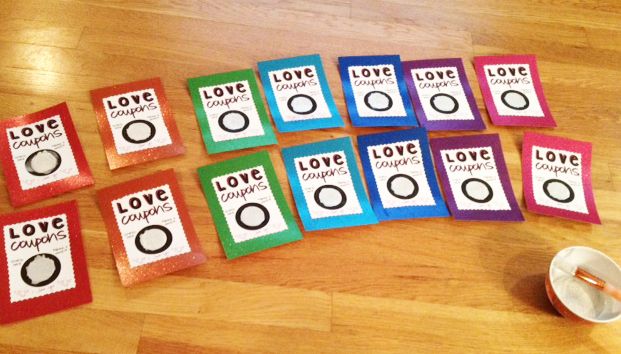
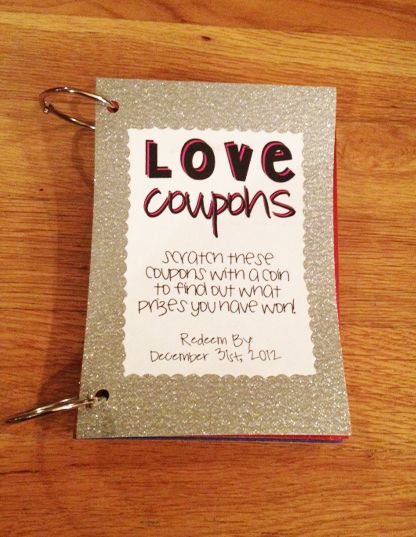
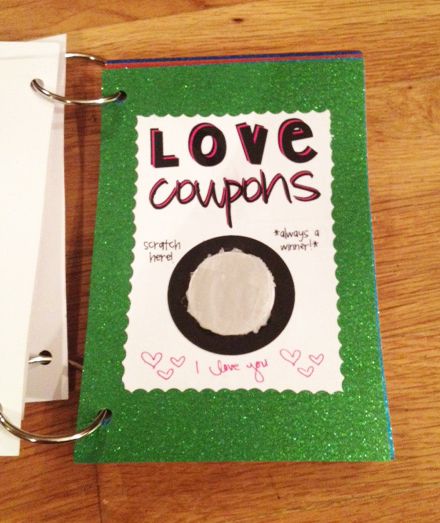
First, I made each page on Adobe Photoshop. They look like the example below, but there are 14 coupons in total in the book I made. 


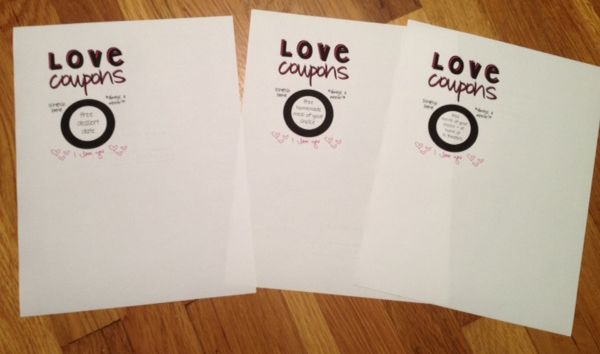
Then, I printed the coupons out from my inkjet printer at home. They're nothing fancy, but they look nice enough to be considered "special".

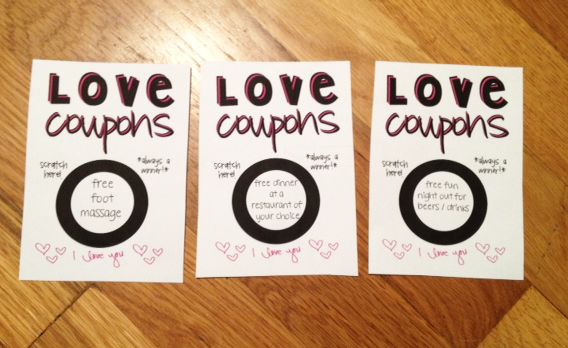
After that, I chopped them up so they were the right size. I needed them to fit on 5x7 cardstock that I had picked out, so I just cut them down.


Before gluing them onto the cardstock, I used my "fancy scissors" to make them look a little nicer and less plain.


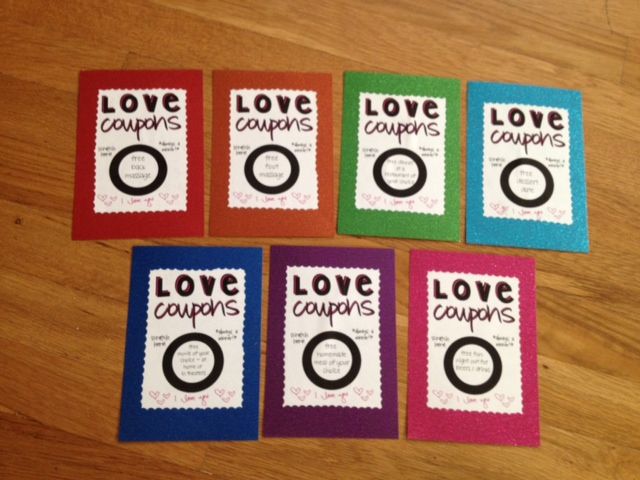
And then I glued them on. I chose several different colors of glittery cardstock so these would look fun and go with the "scratch off" theme. Dan loves gambling, so I thought this would be especially fun for him.


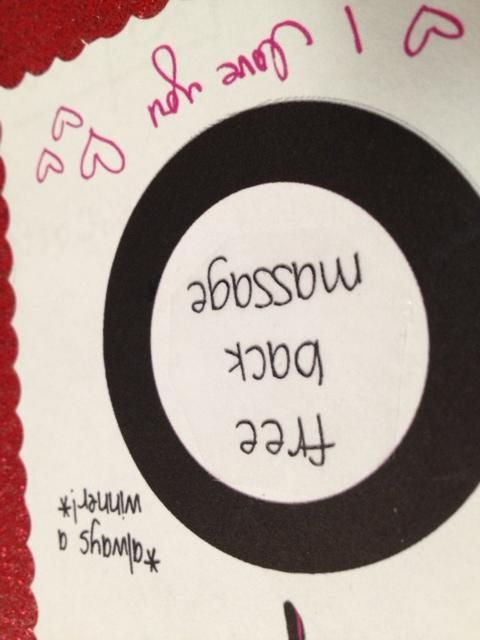
After they were all glued on, I decided to make the "scratch off" part. This wasn't difficult, but it was slightly time consuming. I first covered each circle with clear packing tape. This took a while because I wanted the tape to only fill the circles, and tape is difficult to cut. Trust me. If you haven't tried, have fun. Then, I mixed liquid dish soap with silver acrylic paint to make the "scratch off" solution. I simply painted the mixture (sloppily) into the circles. The first ones looked awful. I got progressively better at it. I feel like if I do this again, it will look much better. If you want to try this, do a few practice circles first!


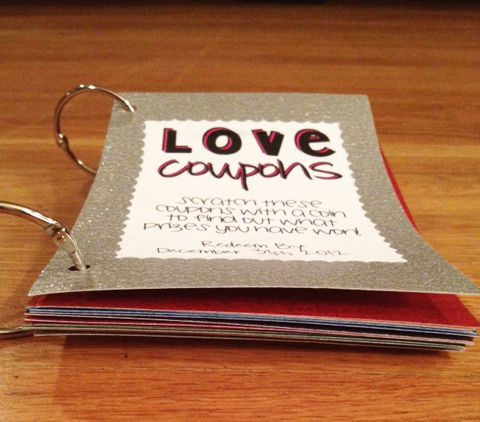
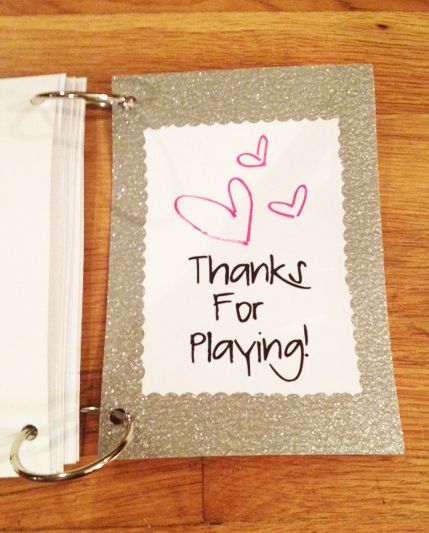
After the paint dried, I put the cardstock pages in the order I wanted them in (obviously arranged by color because I'm just like that) and hole punched the sides. I held them together with binder rings. I am such a teacher, but it worked really well. 


Overall, I am extremely happy with how this project turned out. Dan had a lot of fun using the coupons for various things. The great part of this project is that you can customize the coupons so that your boyfriend/fiancé/husband loves each of them!
  • Have you ever made a coupon book?
  • What's your favorite homemade gift you've given your significant other?
  • Does your significant other enjoy the projects you make for him?

Monday, August 26, 2013

Deck of Cards Anniversary Book

Bear with me if you've already seen this post (on my old blog, Always Write 2012). I am slowly but surely trying to transfer all of my DIY projects to THIS blog so people don't keep finding by crafts on my OLD blog. I want them reading over here!

Last fall, I joined a website called Pinterest. I was skeptical at first, but I have gotten some of the best craft ideas from there, not to mention all the delicious recipes I find! If you haven't heard of it, CHECK IT OUT now! :)

Anyhow, while browsing, I found an amazing idea for an anniversary gift for Dan. We celebrated three years of dating on February 25th, 2012, so I realize this post is long overdue (as in... a year and a half overdue -- oops!). My apologies.

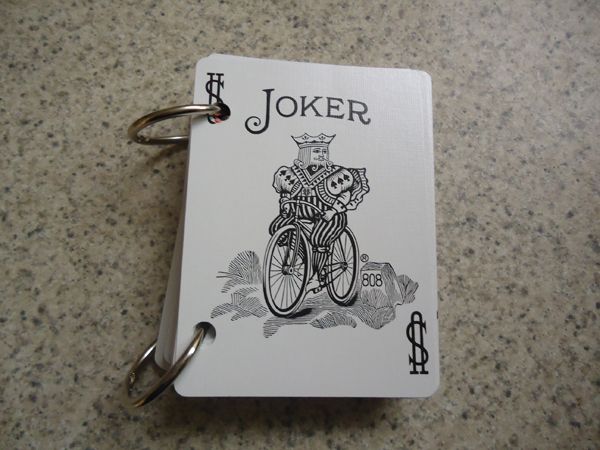
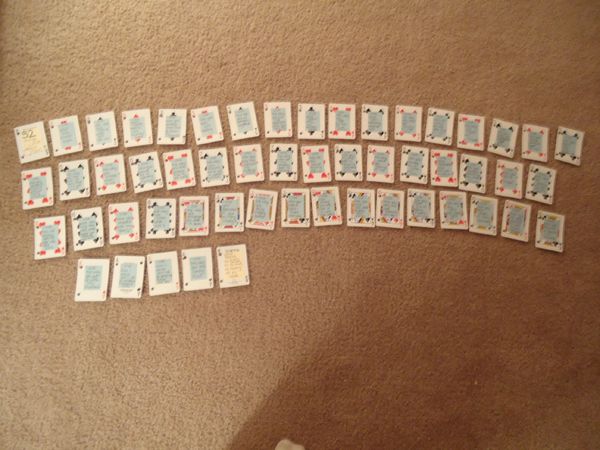
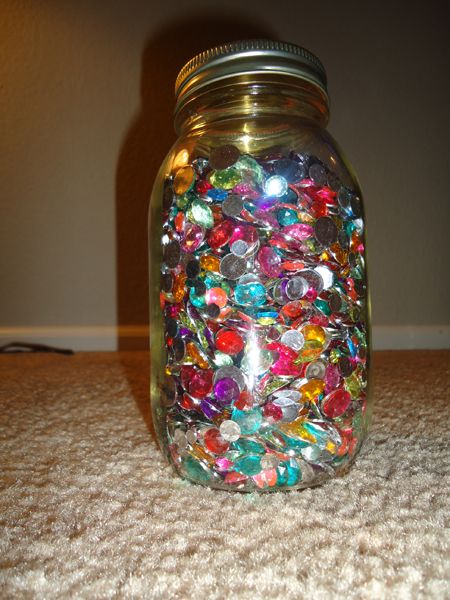
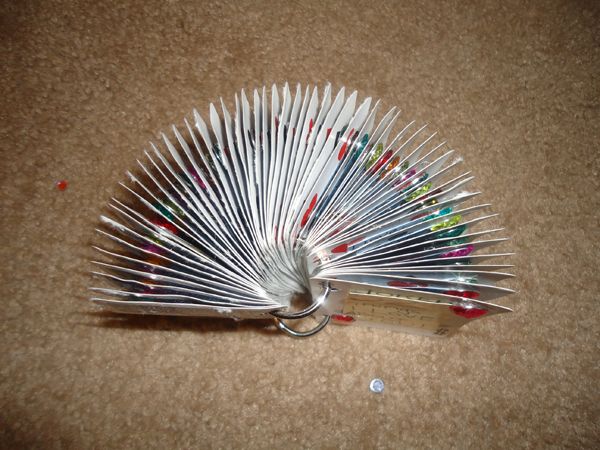
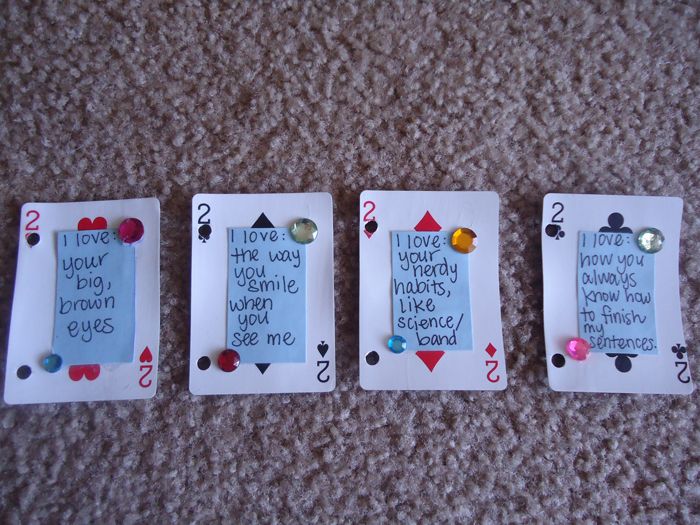
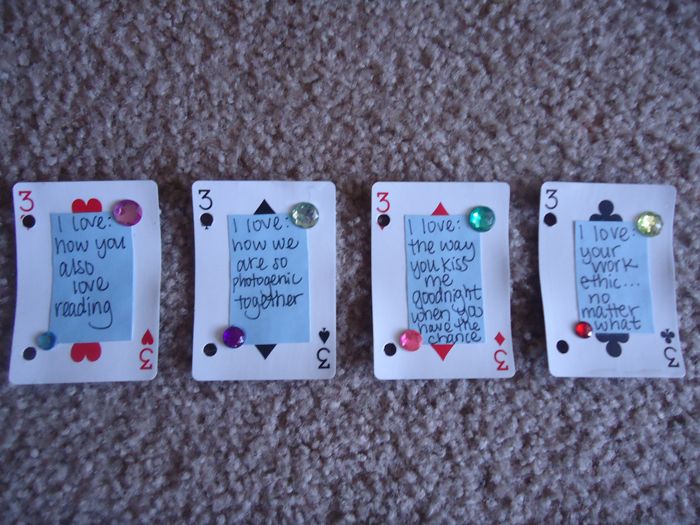
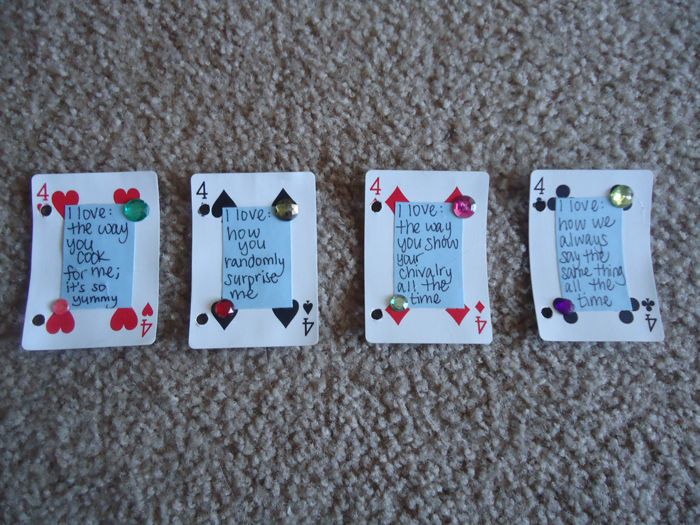
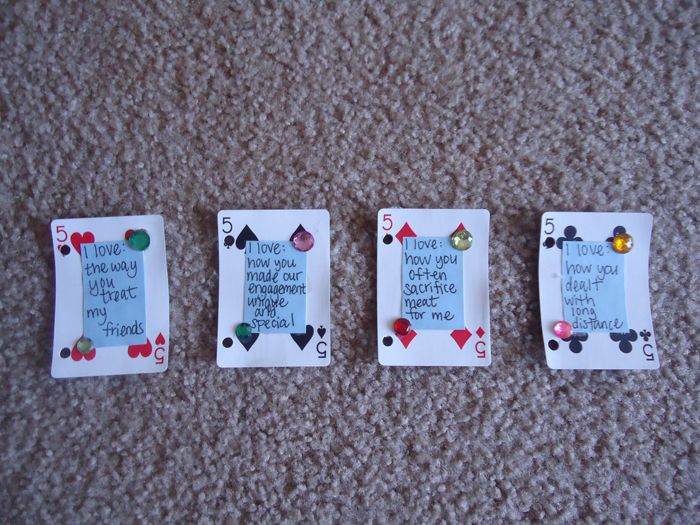
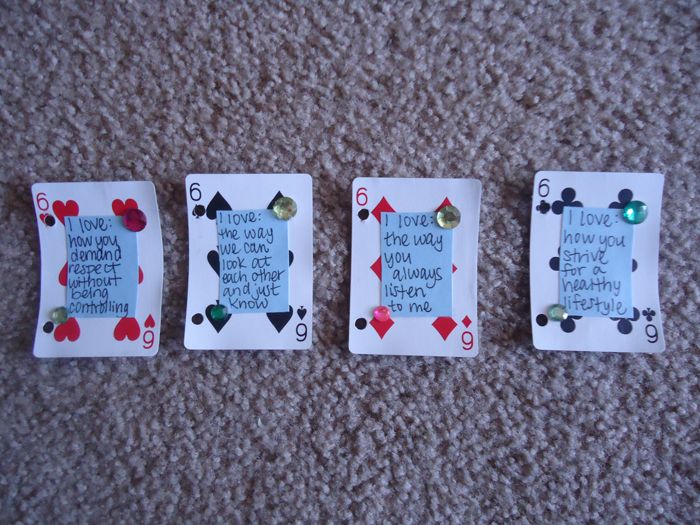
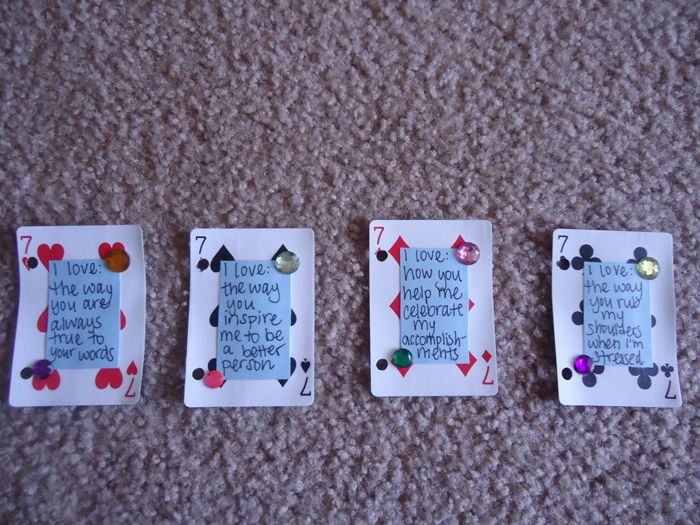
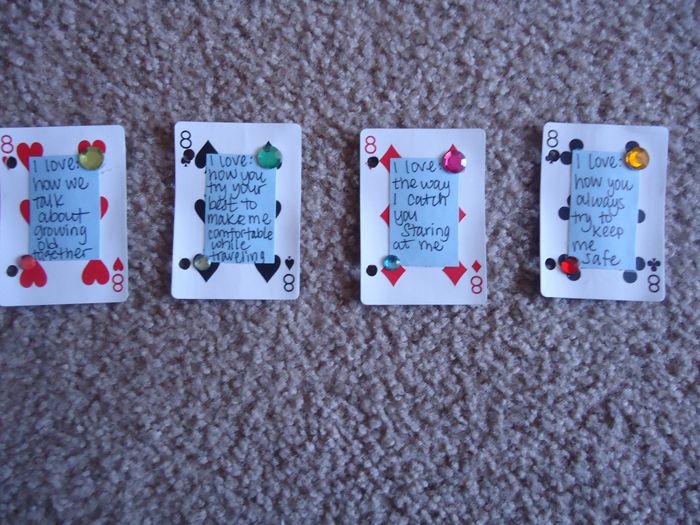
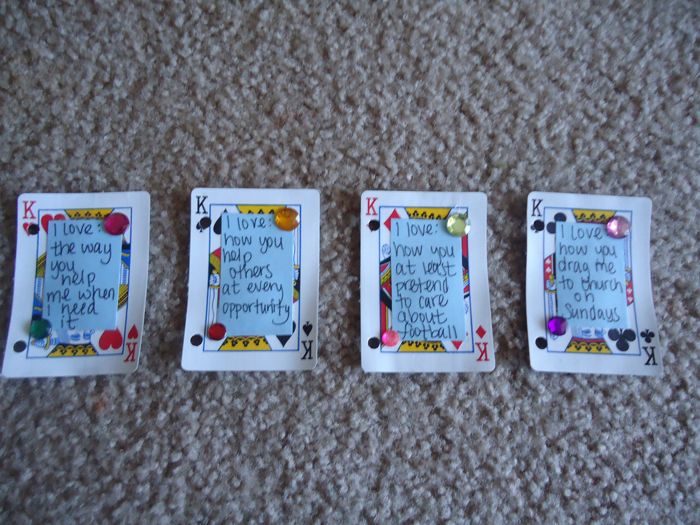
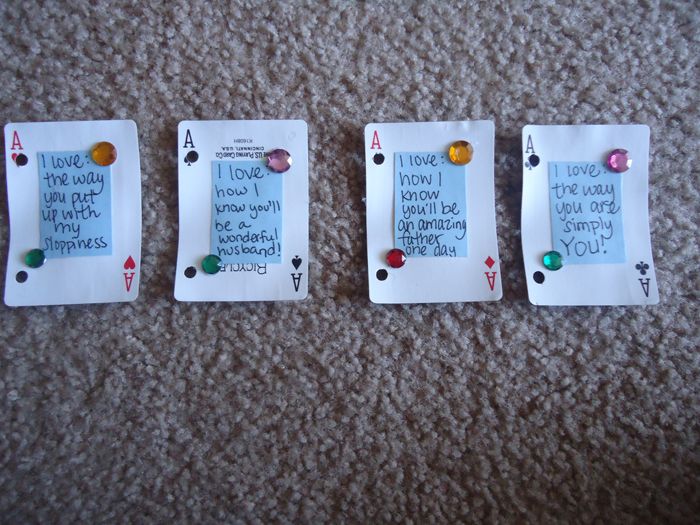
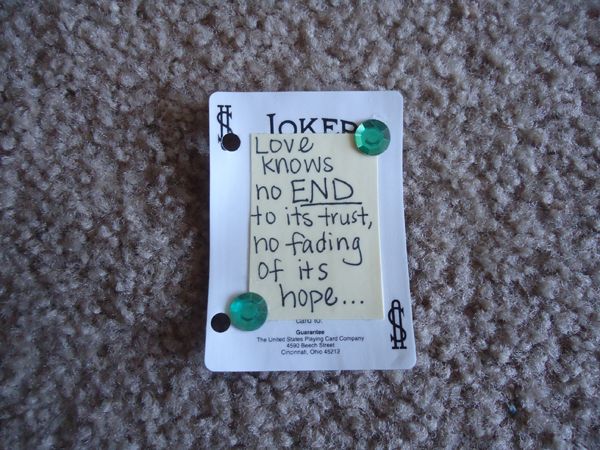
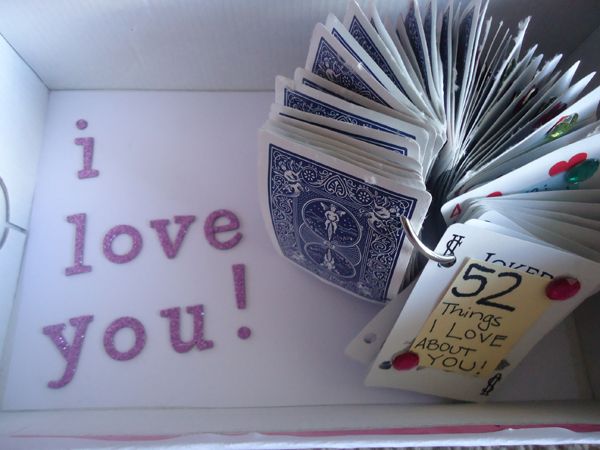
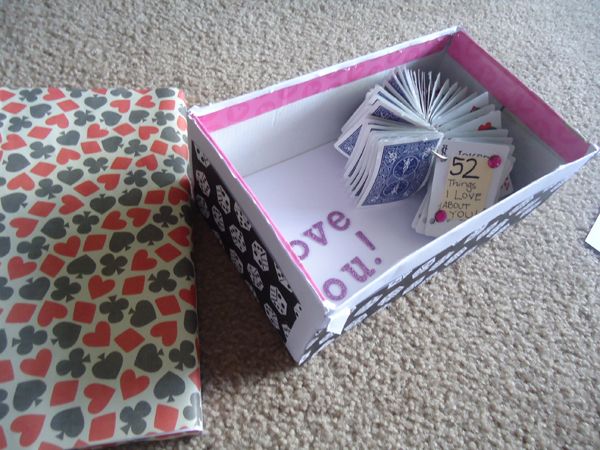
Basically, I wrote out 52 reasons why I love Dan (similar to the fishbowl gift I made for him for our one year anniversary, but this one's more compact!) and put one on each card to complete an entire deck. I used the Joker cards for the front and back covers, and I think it turned out really cute. Dan LOVED this gift, and I had fun making it. I wouldn't advise using the jewels I did, though, as they made it larger and unable to close -- oops!

And what would a blog post be without pictures?

I started by punching two holes in each card and them assembling the deck with binder rings.

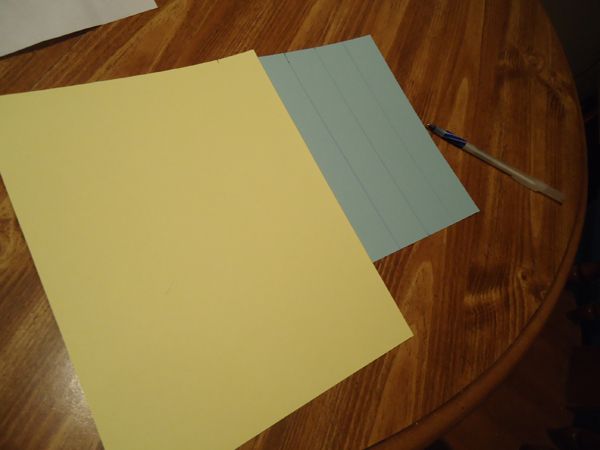
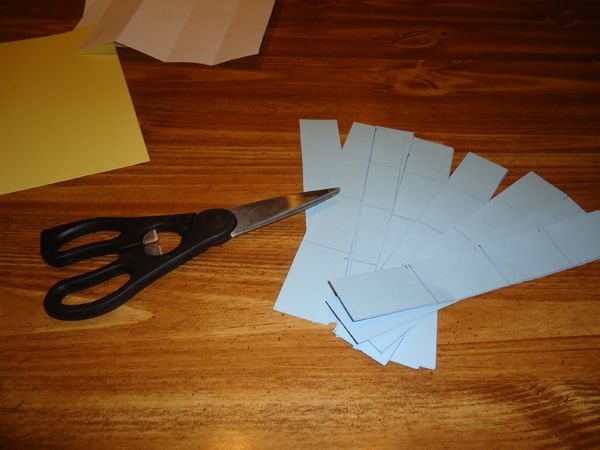
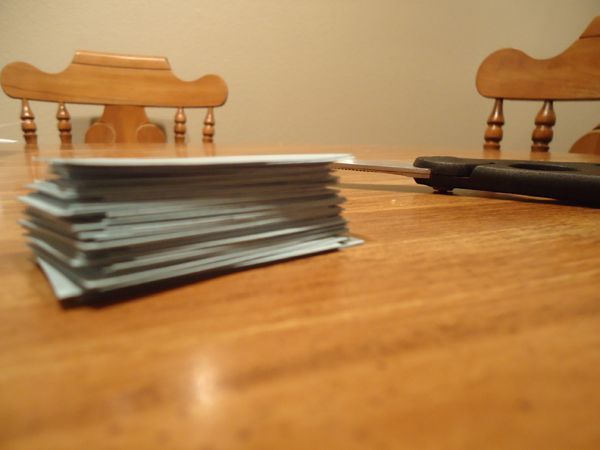
I made even strips of cardstock to glue on each card...


small pieces of cardstock for each card! 

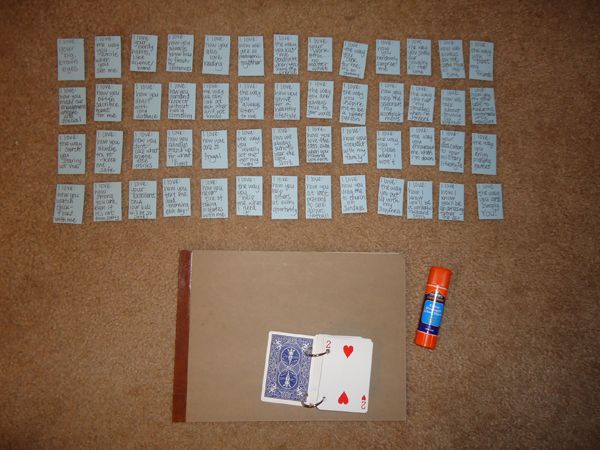
I wrote one reason why I love Dan on each piece of cardstock

...and then I glued one to each card!

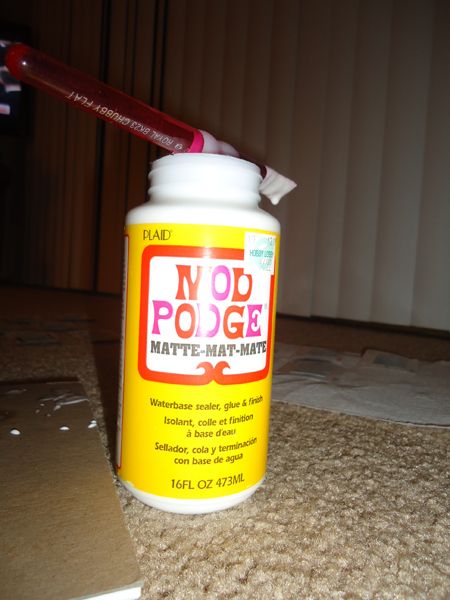
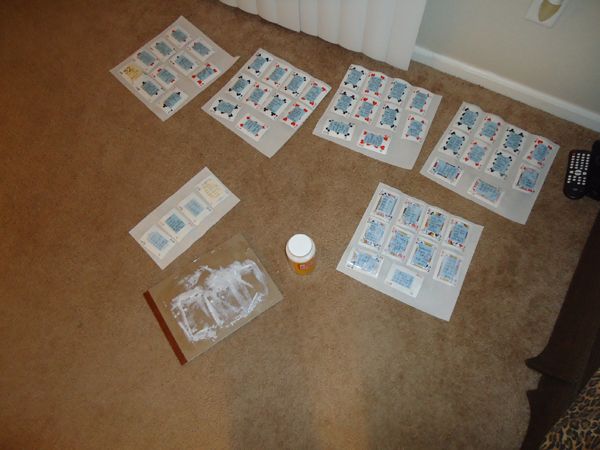
I painted matte Mod-Podge over each one to make sure they stay on the cards...

I let them dry on paper towels, but next time I would use something that wouldn't get stuck to the cards. I had to peel it off afterward.

I hot-glued two charms to each card.

all put together...

the cover


the back cover..

so pretty :) 

inside the box I gave it to him in :)

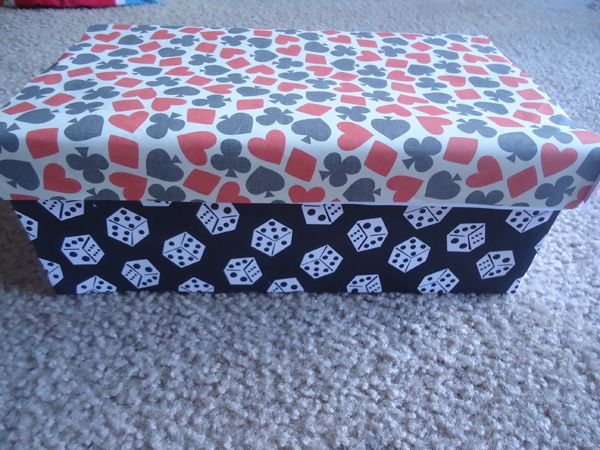
scrapbooking paper on a shoe box! Someone forgot to buy a gift bag.. ;)

All ready to give to Dan! :) 

If you ever have any creative ideas, let me know. I am always looking for new things to make to give as gifts and to blog about!