Showing posts with label decoration. Show all posts

Tuesday, January 14, 2014

Dating, Engaged, Married DIY Framed States

Today's DIY craft is something I've been wanting to share for a while. I made these last spring when I had a day off of work. However, life got busy, and I'm just now getting around to posting about them.

Since Dan and I started dating in Missouri, got engaged in New Mexico, and will be married in Colorado, I couldn't pass up an opportunity to make these ADORABLE prints to hang in the living room. 

I am SO happy with how they turned out, and people comment on them all the time, asking where I got them. 
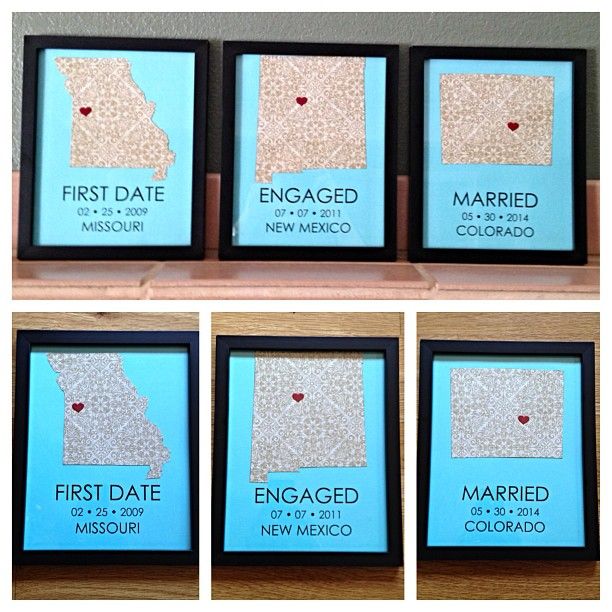

To start, I bought some colorful cardstock at Hobby Lobby. I chose a textured teal color because it goes with the earthy tones in my living room but also stands out quite a bit.

Then, I picked out a patterned scrapbook paper (and bought a couple extras in case I messed up!).

When I got home, I searched on Google Images for the three different states I was looking for. I picked silhouettes and printed them on regular printer paper.

Then, I cut out the states.

After that, I glued the cut out states to the back of scrapbook paper and cut out the states again. New Mexico and Colorado were super simple, but Missouri was a piece of work!

Then, I made a template on Microsoft Word with one of my favorite fonts and practiced printing on a plain piece of printer paper to make sure it was spaced out right. Once it was, I printed the three on my teal paper. 

Now comes the glue! I actually used Mod Podge because it is sticker, and I'm used to working with it. I glued the states down as close to the middle of the teal paper as I could.

Last but not least, I added the small red heart stickers I bought for this project over the approximate location of the cities that these major events happened/will happen! 
  • So, what do you think? 
  • Would you make something like this to decorate your home? 
  • Did these three big life events happen in different places for you as well?
Monday, August 12, 2013

Framed Book Quotes For My Classroom

Bear with me if you've already seen this post (on my old blog, Always Write 2012). I am slowly but surely trying to transfer all of my DIY projects to THIS blog so people don't keep finding by crafts on my OLD blog. I want them reading over here!

Since school starts TOMORROW, I thought this would be a great post for today! 

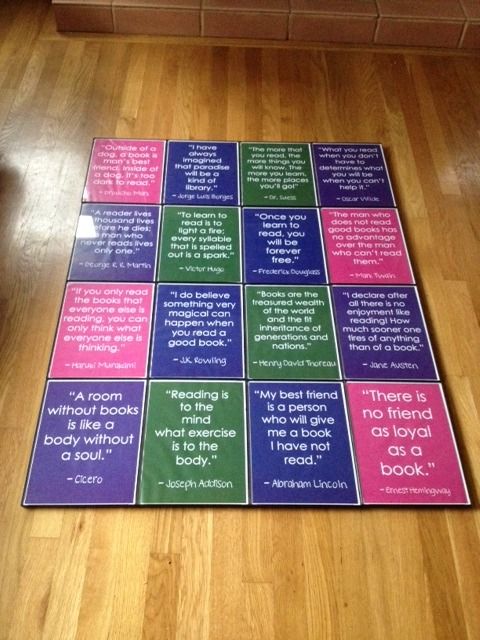
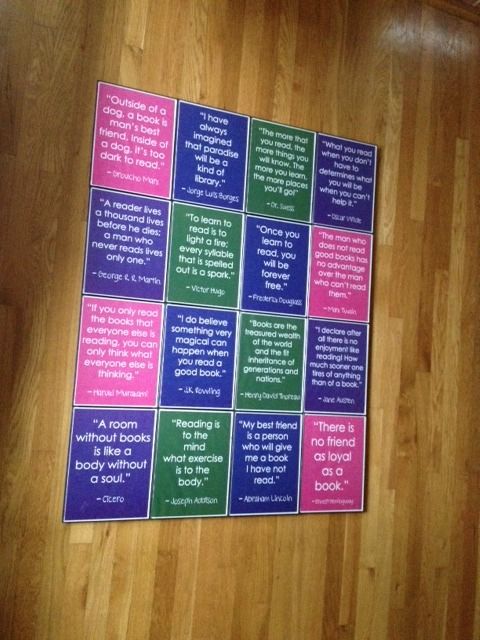
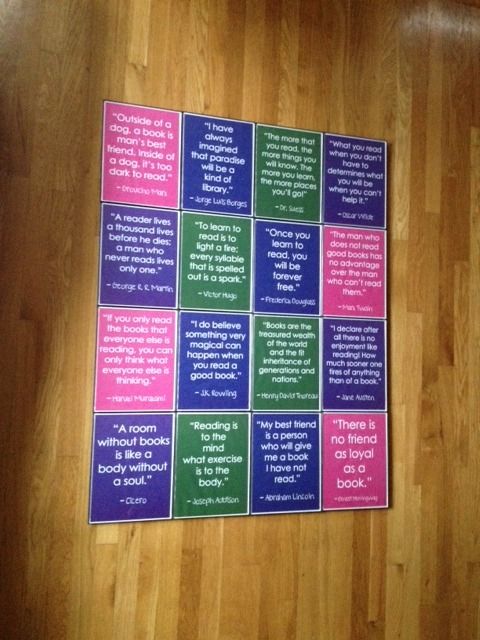
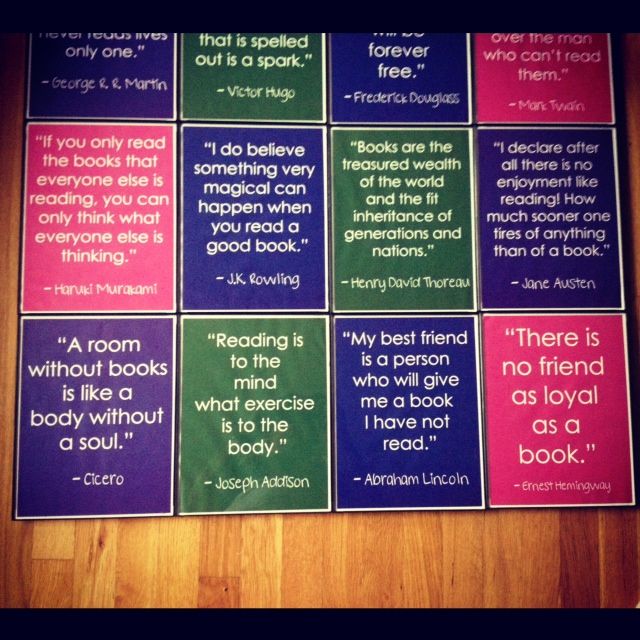
Last summer, I was inspired to create something I'd been wanting to for a few months. At the beginning of the summer, I gathered 16 quotes about reading/books that I really like, and I knew I wanted to have them hanging in my classroom to inspire my kiddos.

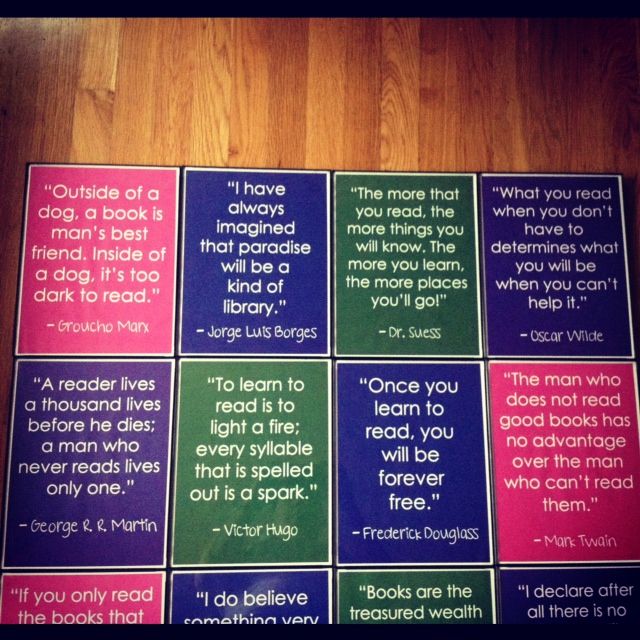
Long story short: I tried to paint them myself on scrapbooking paper, and it turned out to be a disaster. I normally am really great with crafty things like that, but they were AWFUL, and instead of using them anyway, I decided to let Photoshop do the work for me. I typed in the quotes in a big, bold font (Century Gothic) and then put the author's name in a different, fancier font below (Pea Heather Michelle -- weird name, I know).

I decided to use four different background colors since there are 16 quotes, so I have four in each color. That way, there are not too many different colors going on around the room.

I ordered these prints from Office Max for 49 cents each, but when I got there, they gave me 25% off with my teacher ID. This project was a STEAL! I ordered document frames from Walmart.com that came in packs of six (so I now have two left over to use later), and they have real glass frames. I am happy with them, and they arrived on my doorstep in just two days with standard shipping. Overall, I did end up spending about $25 on this project, but these will last forever. I can hang these quotes up year after year, and if I get tired of them, I can print new ones for very cheap and change them out.

And now the pictures! You probably can't read the quotes in the first three pictures, but I wanted to show them all off at once. The last two have close ups of the quotations! (and yes, I know Seuss is spelled wrong; it has since been fixed. I noticed it right away!)


Okay, I lied. I decided to post individual pictures of each quote just because I like them so much. They really are just SO pretty. 


These were so simple to make, and the colors are so vibrant! I can't wait to use them year after year! :) 

Wednesday, July 17, 2013

Name Display For My Classroom

Note: Bear with me if you've already seen this post (on my old blog, Always Write 2012). I am slowly but surely trying to transfer all of my DIY projects to THIS blog so people don't keep finding my crafts on my OLD blog. I want them reading over here!

The original idea I found for this on Pinterest is one that someone posted for a baby's room, but I fell in love with the idea and knew immediately that I HAD to have it in my classroom. (Note: I made these in the summer of 2012 and have already had them hanging in my classroom for one year!)

WARNING: WAY too many pictures were taken in this process, and I am sharing them all. Enjoy! :)

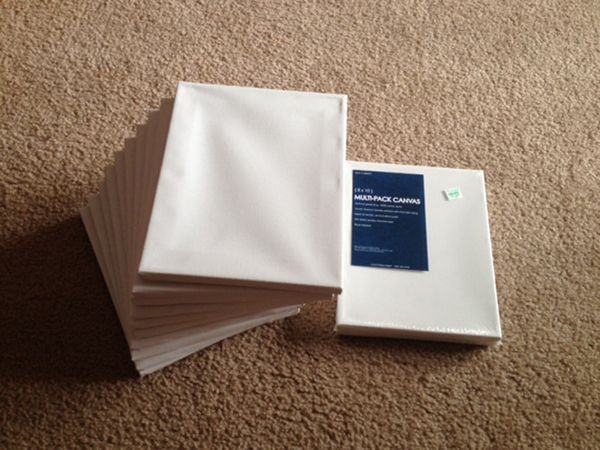
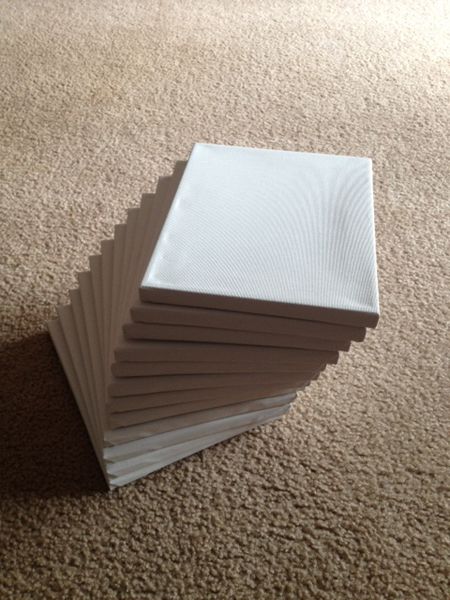
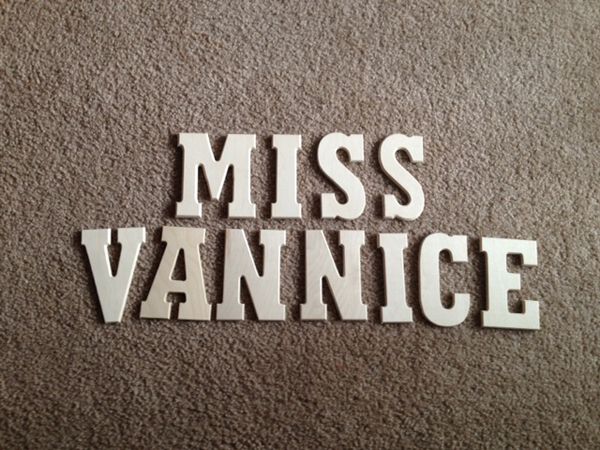
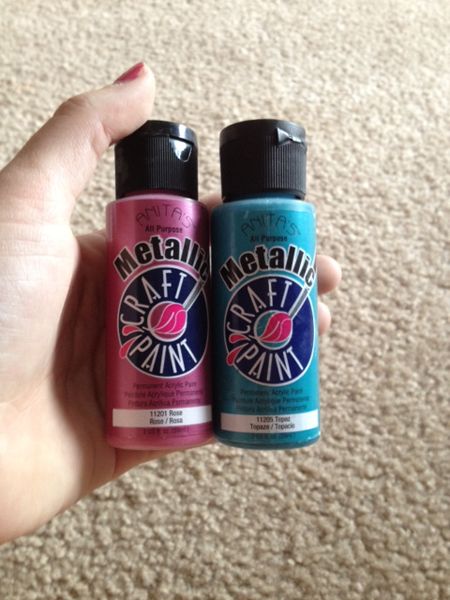
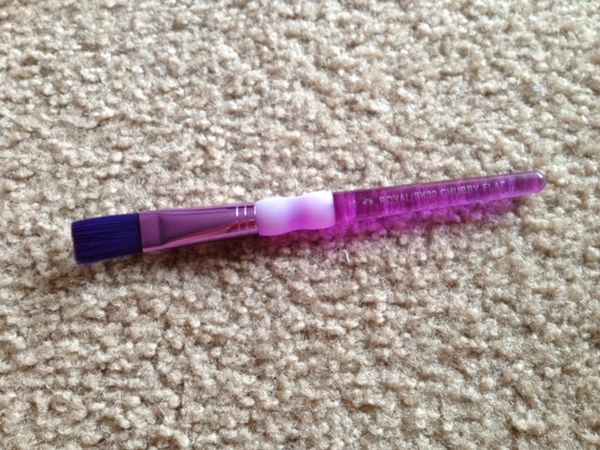
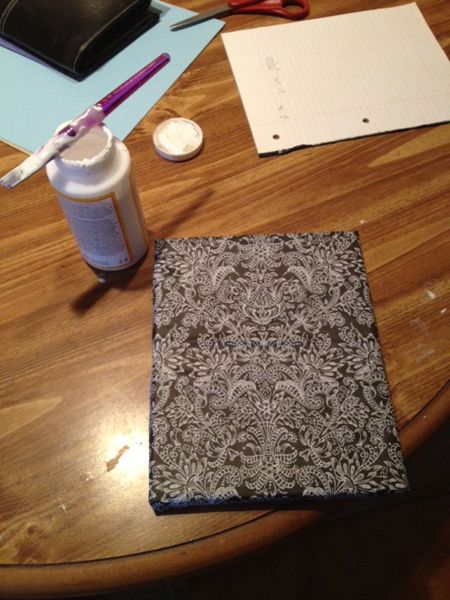
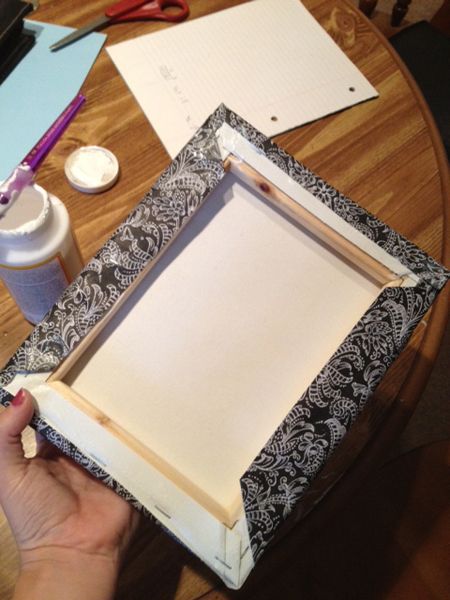
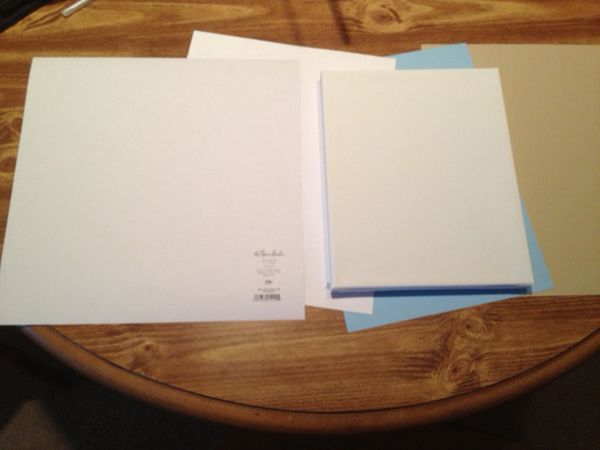
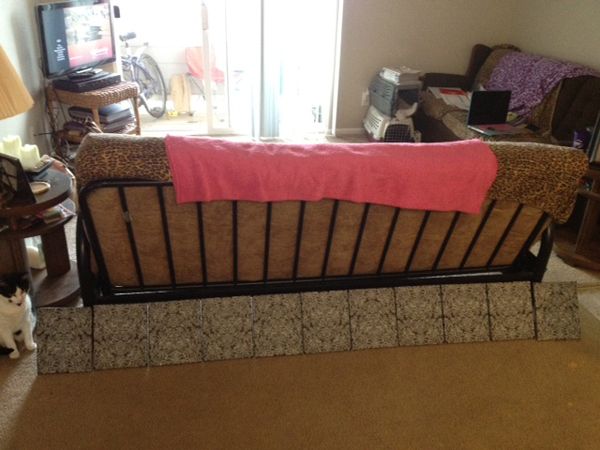
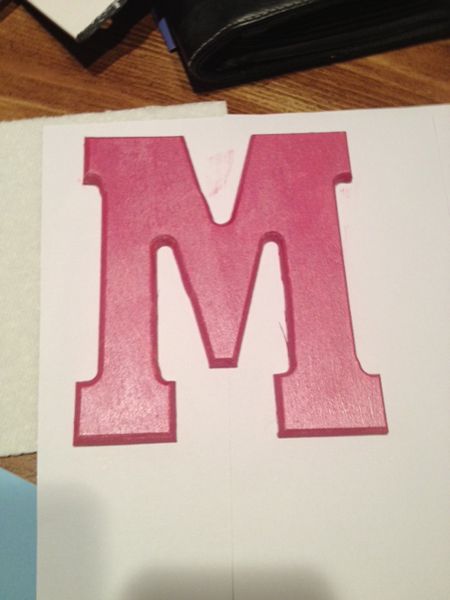
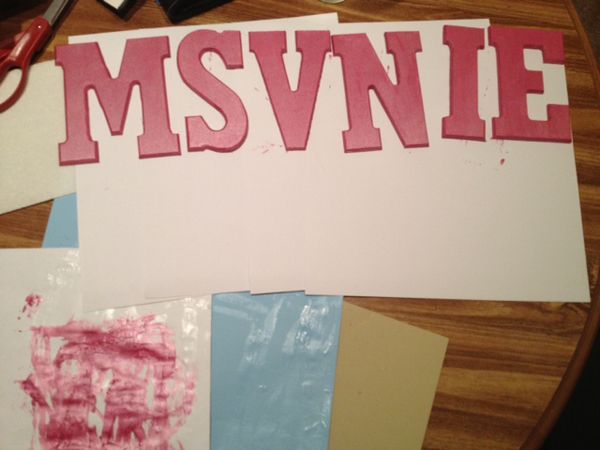
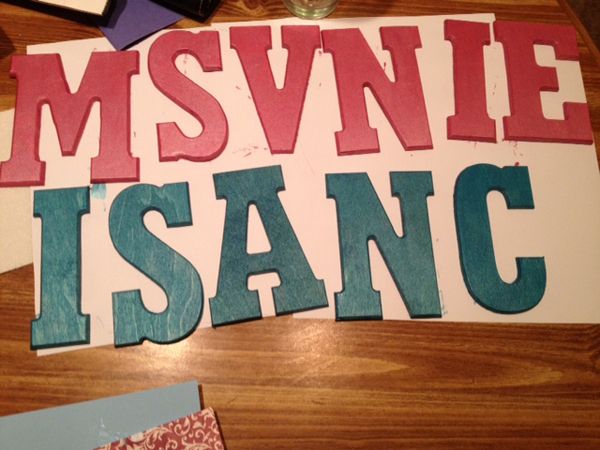
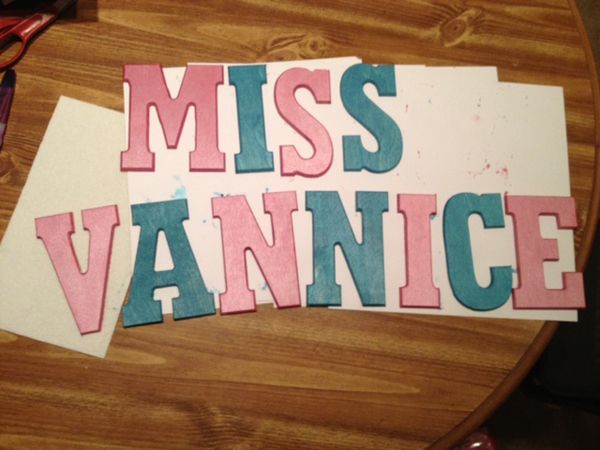
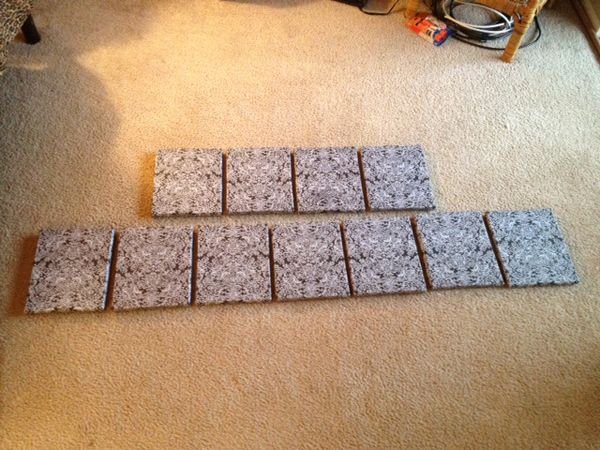
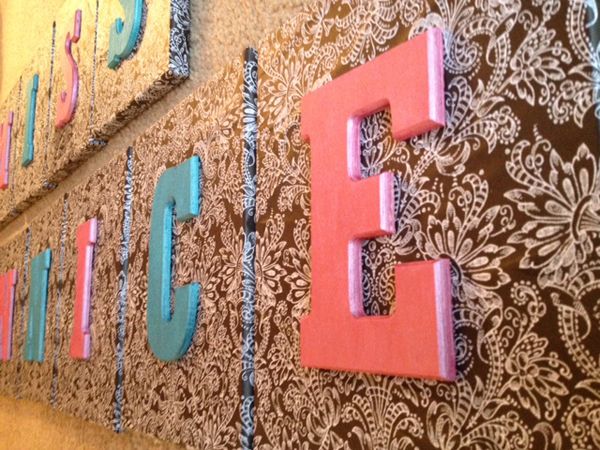
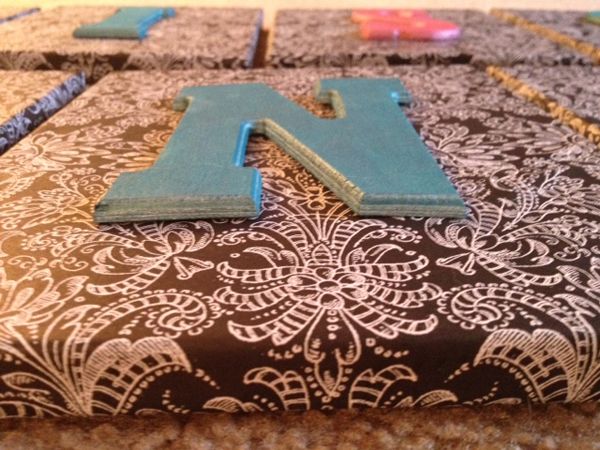
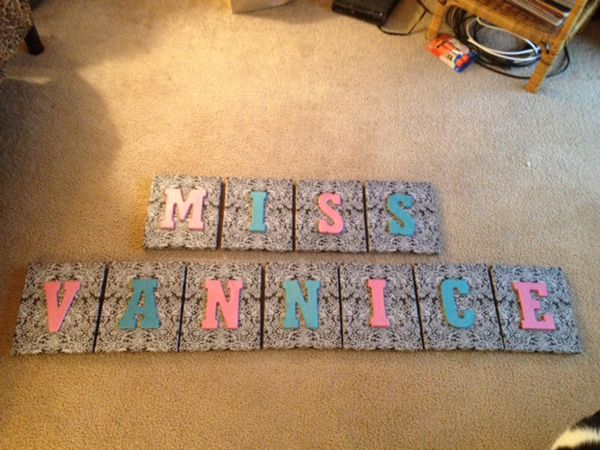
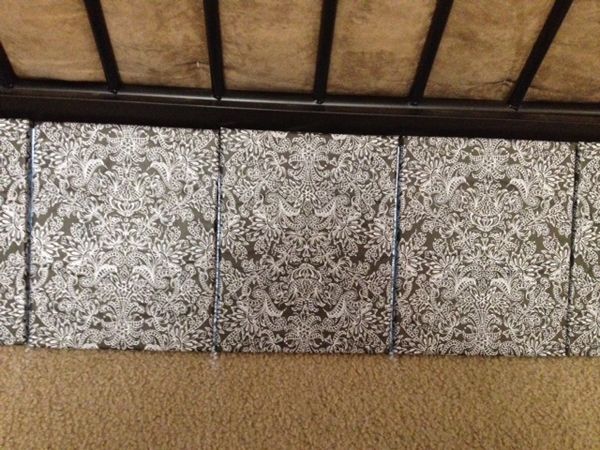
Basically, I wanted a sign that has my name on it to hang over my desk. When I saw this canvas idea, I was hooked. I bought 11 blank canvases (okay, I bought 12 because they came in packs of two... and it's always good to have an extra just in case something goes wrong, ya know). The canvases are 8x10 in size. I bought the same number of pieces of scrapbooking paper in the same pattern in 12x12 (so they are big enough to wrap around the canvases to give it the "real" canvas look. I bought wooden letters to spell out: "MISS VANNICE" to be glued onto the scrapbooking paper after it was glued onto the canvases. I also purchased metallic pink and teal acrylic paint to make the wooden letters pretty. (You will see all of this in the pictures below). I used Mod Podge to stick the paper to the canvases, and I used hot glue to stick the letters to the paper afterward. I think they turned out extremely cute, and I can't wait to hang them up in my new classroom! :)


(in context with the rest of the room... oh, how I miss this classroom! Moving sucks.)

So, what do you think? 
Would you use something like this in your classroom/office/house?
Have you ever made anything similar?