Showing posts with label gift. Show all posts

Wednesday, July 12, 2017

Mother's Day Gifts for the Grandmas

Yes, I know I'm basically two entire months behind, but I am playing some SERIOUS catch-up. It seems like I go through spurts with this little blog of mine... I either take a few weeks off completely or post a ton of posts all at once. I'm trying to be more consistent, as usual, but life happens.

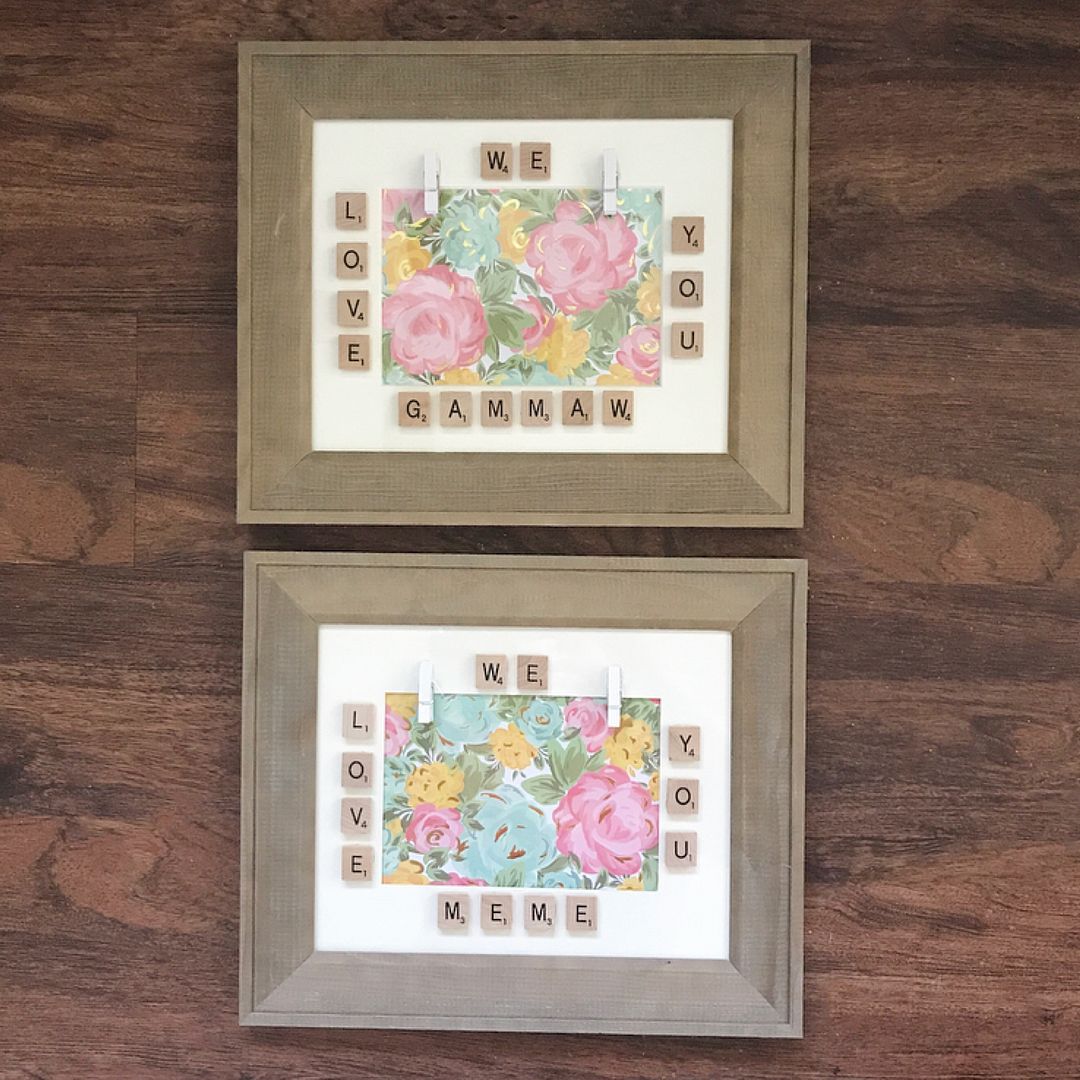
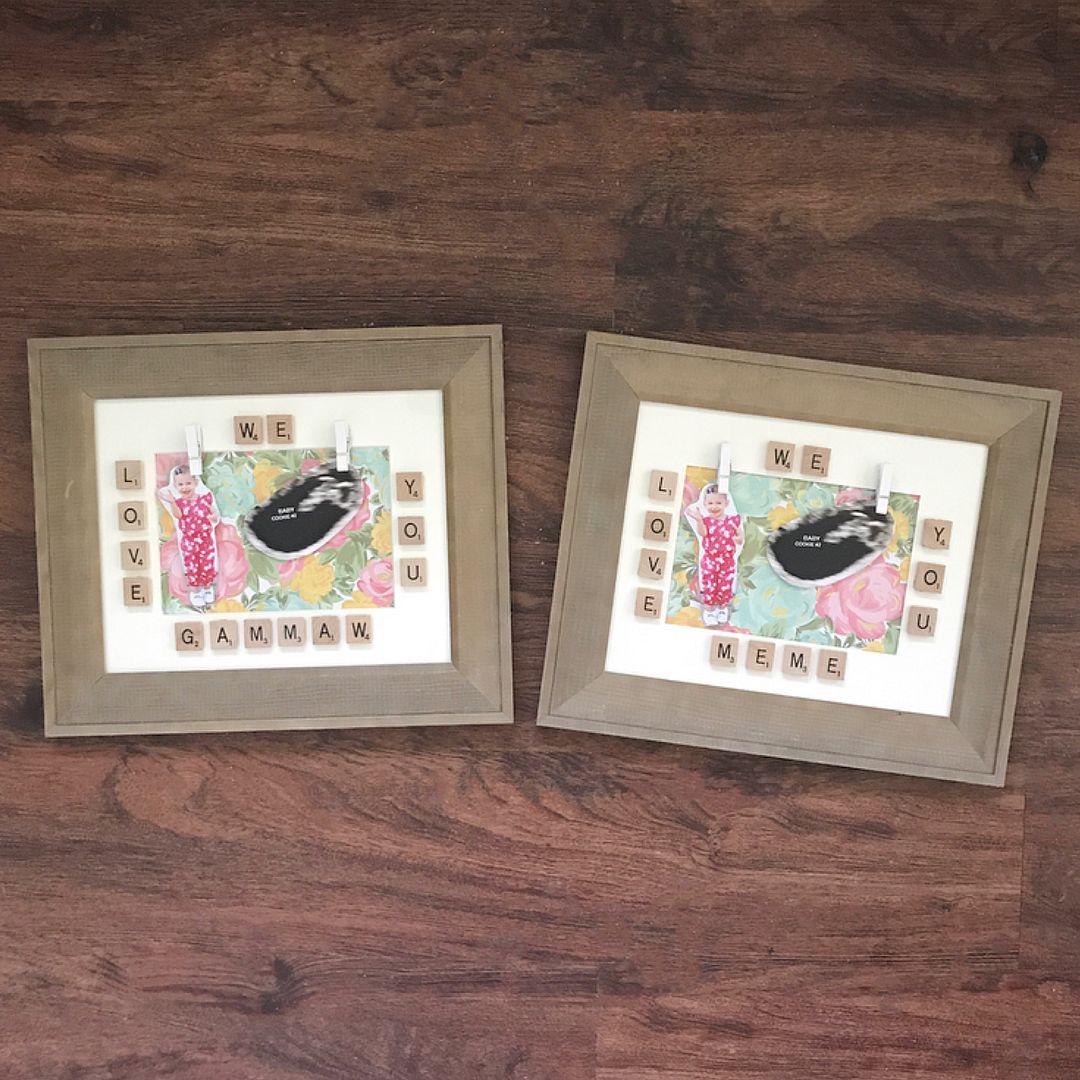
We actually told my family about Baby Cookie 2.0 on Easter! We had Annabelle wear a BIG SIS shirt that we made for her (and I somehow have exactly ZERO pictures of her wearing it that day because we told them, ate Easter dinner, and then quickly changed to head out to the Royals game... oops!), so I decided to make them a little something special and ship it to them for Mother's Day.

I found this idea on Etsy, but it was from a seller in another country, so the shipping was really expensive. I decided to try to make my own, and I'm really pleased with how they turned out. I knew I wouldn't be able to top last year's mason jar photo frames, but those were FAR more work intensive... I love mine, but I can't say I'll ever make another.


Do you make DIY gifts for Mother's Day, or are you more of a traditional gift buyer / giver?

Friday, April 15, 2016

A Beer Lover's Birthday Gift

Last weekend, Dan celebrated his 27th birthday. He is one of those people who has everything he needs because he just buys things (mostly on Amazon...) whenever he needs something.

That leaves very little room for someone who wants to purchase a gift for him besides a gift card... which is why I'm always making things myself. This time around, however, I did not have time for a homemade gift. A baby and a cross-country move kind of do that to a person...

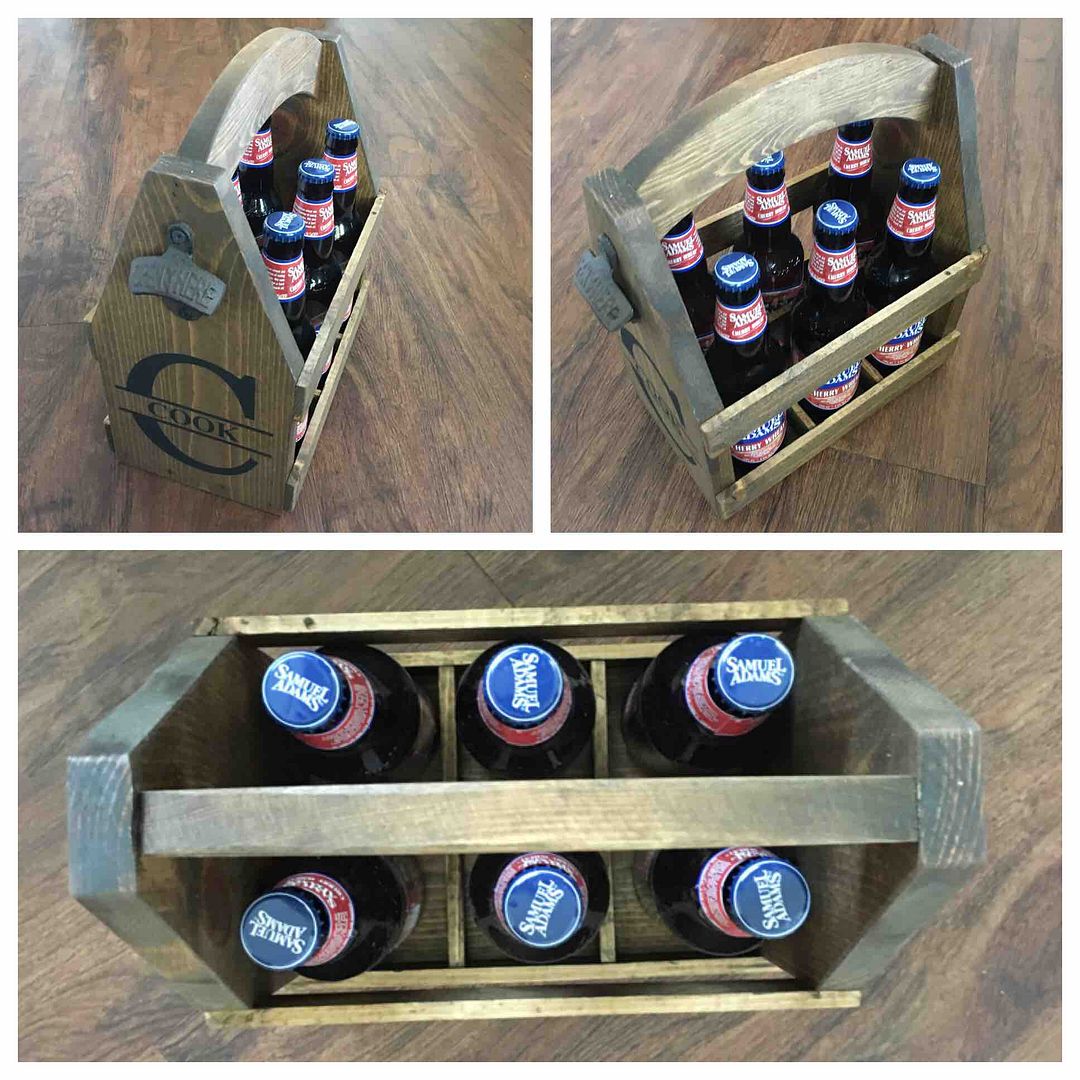
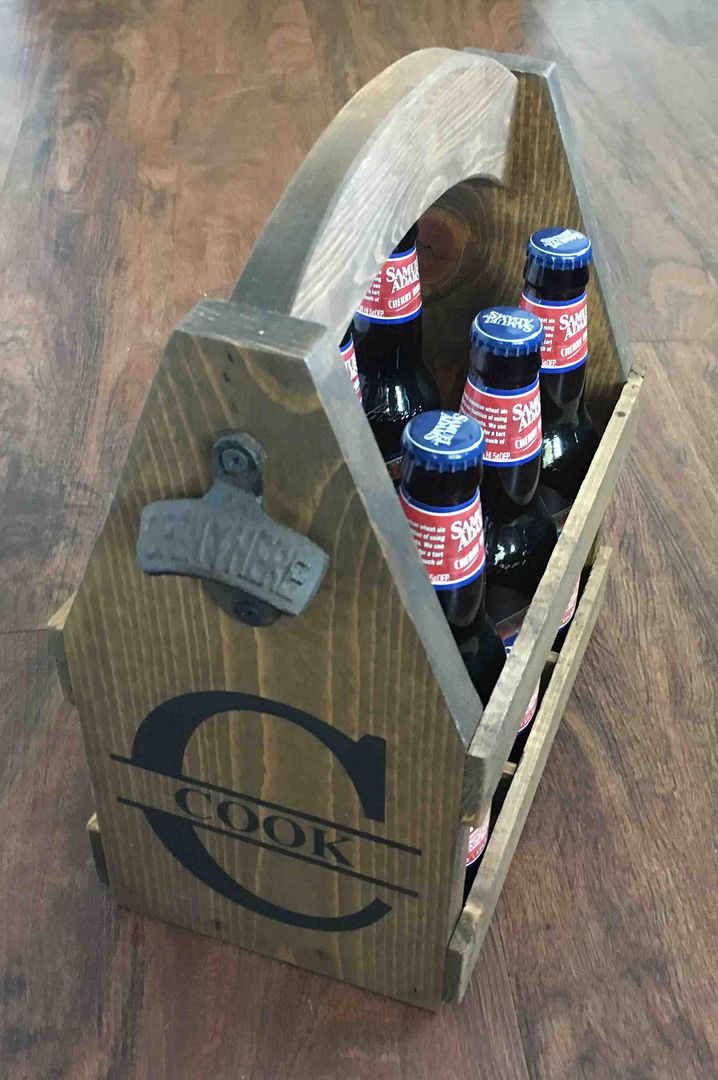
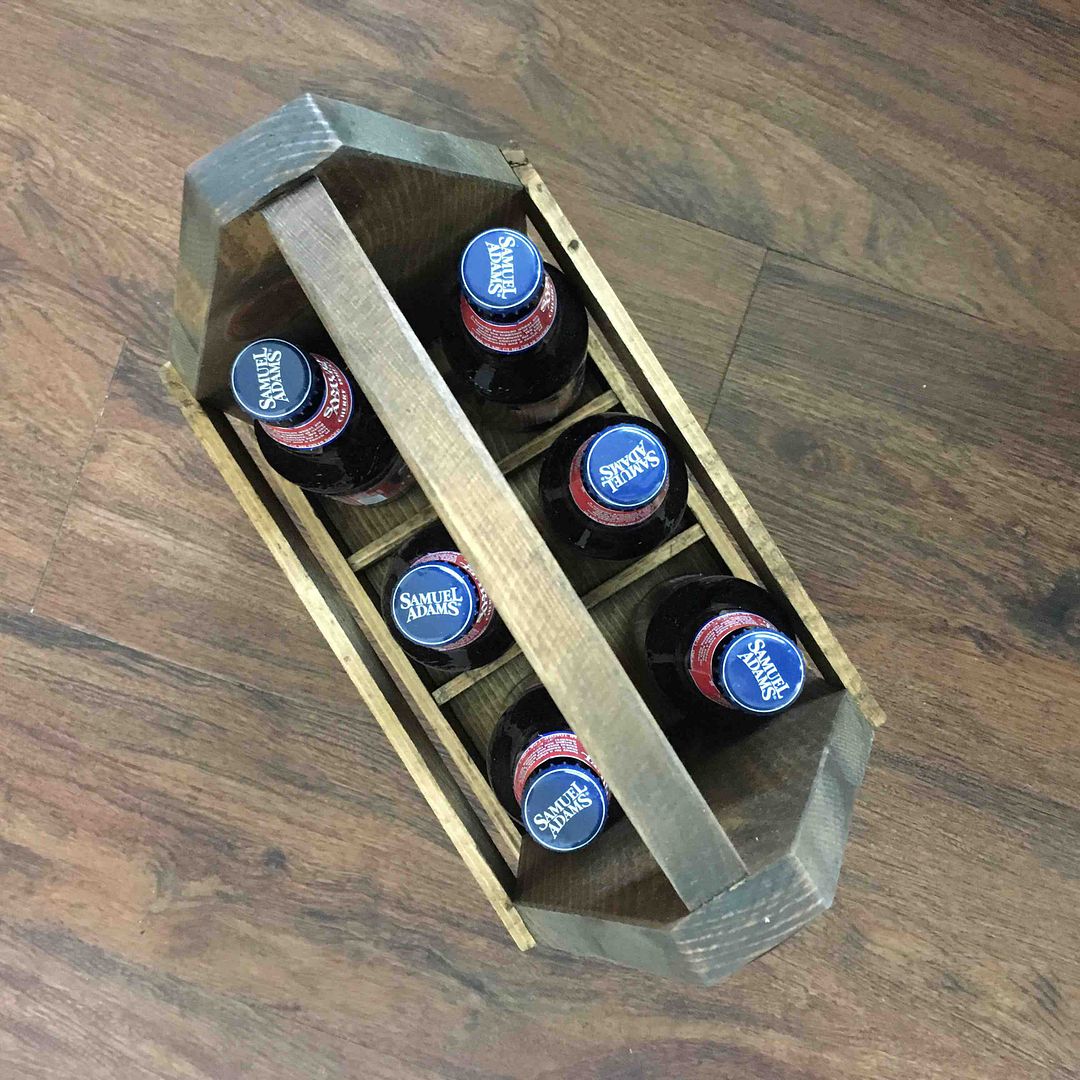
Luckily, I planned ahead and found something I knew he'd love while we were still in Ohio. I ordered this wood beer tote through an Etsy shop called AbsoluteImpressions, and I was so satisfied with my purchase that I'm sharing them with all of you. *I did NOT receive a discount for this; this TRULY is my opinion... they don't even know I'm writing this post.


Not only is the quality outstanding, but the customer service was completely on point. They sent the proof to me of our last name on the side within 24 hours. Also, I needed my beer tote to be shipped after a certain date so it wouldn't arrive to our new home before we got there, but I also needed it to arrive BEFORE Dan's birthday about a week later. They were more than accommodating, and I arrived the beer tote exactly when expected.

I added a six pack of beer to make the gift ready-to-give, and Dan loves it. I know it's something he could have made himself... but he never would have. He's so difficult to shop for, and I'm really glad I discovered this!


You can find them here: AbsoluteImpressions

What do you give your husband for gifts?
Do you like the challenge of buying gifts for people who are hard to shop for?

Friday, January 22, 2016

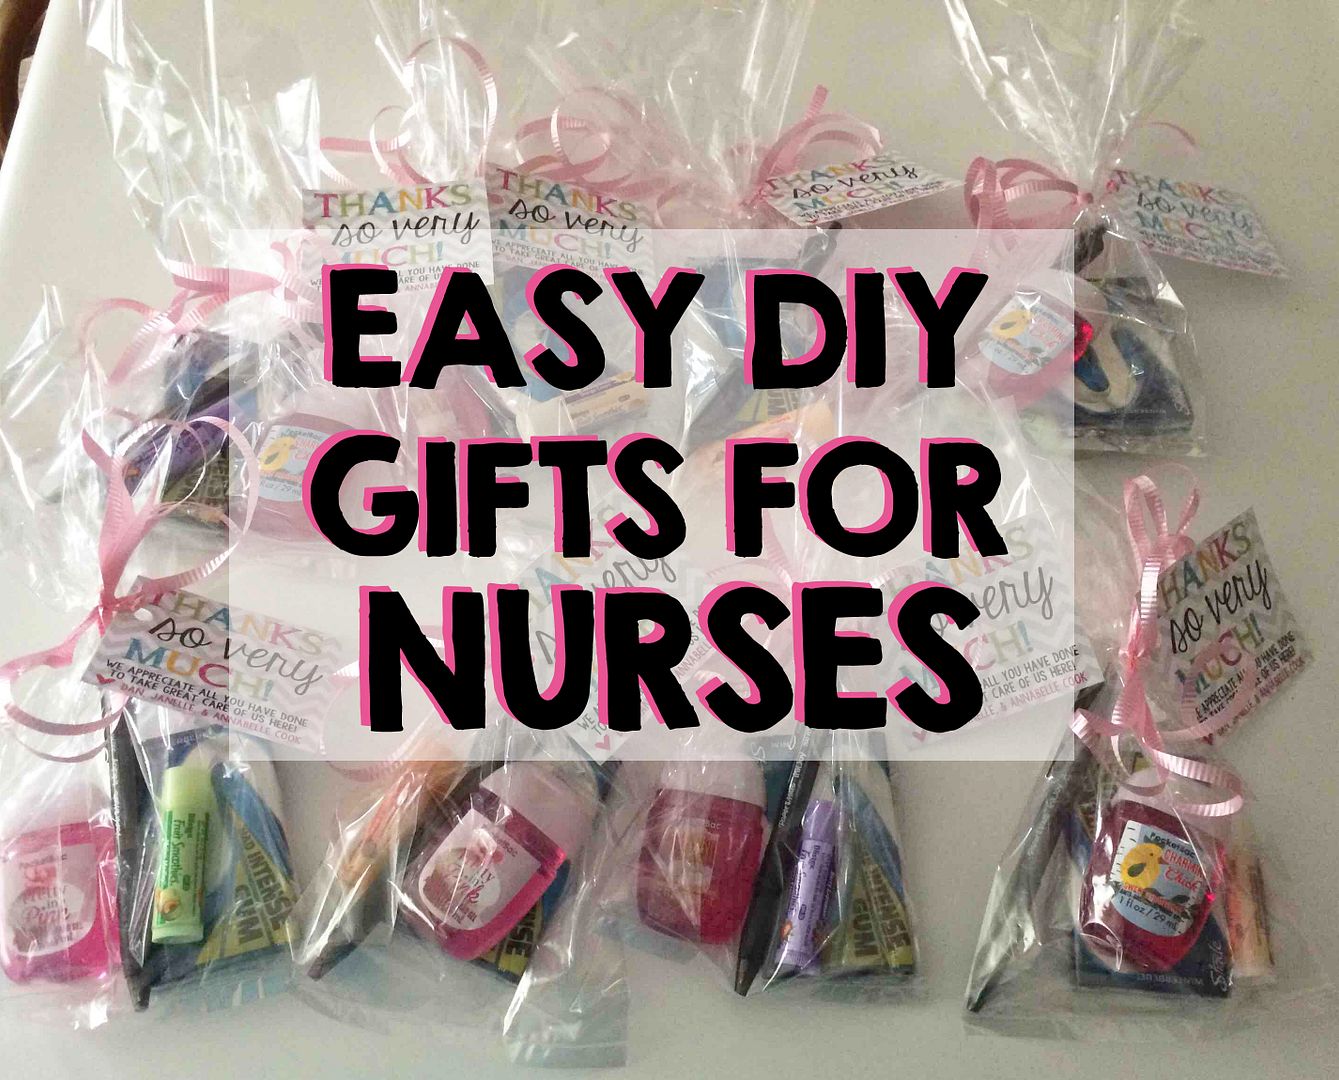
Easy DIY Gift for L&D Nurses

So remember when I recapped my birth story? And how it took for-freaking-ever?! Yeah, we were in the hospital for DOUBLE the amount of time I expected to be since little miss Annabelle was (is... she really, truly still is) STUBBORN. 

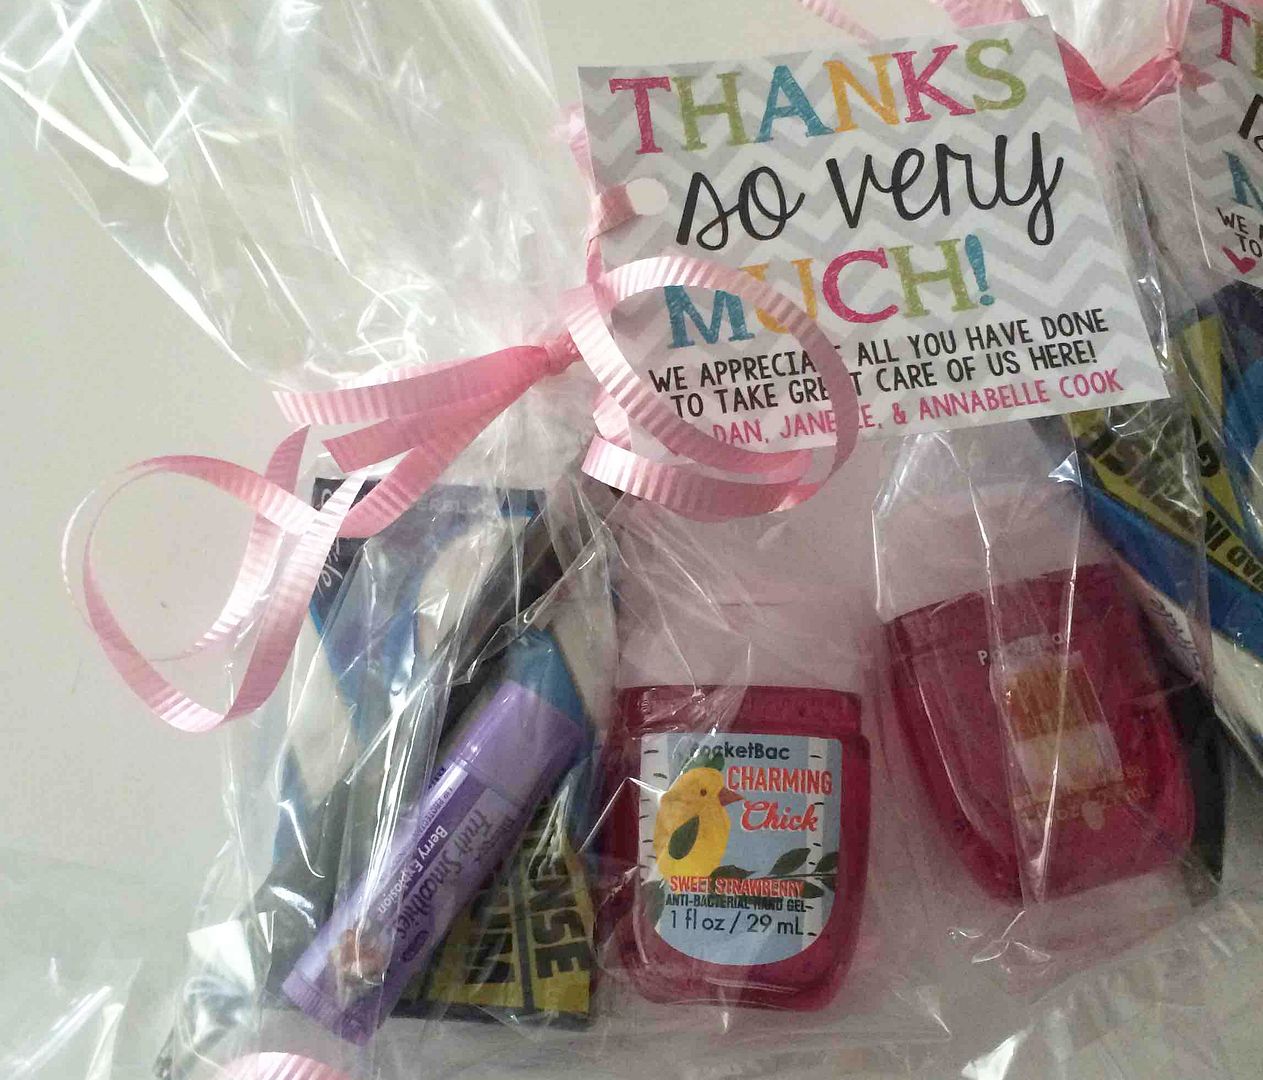
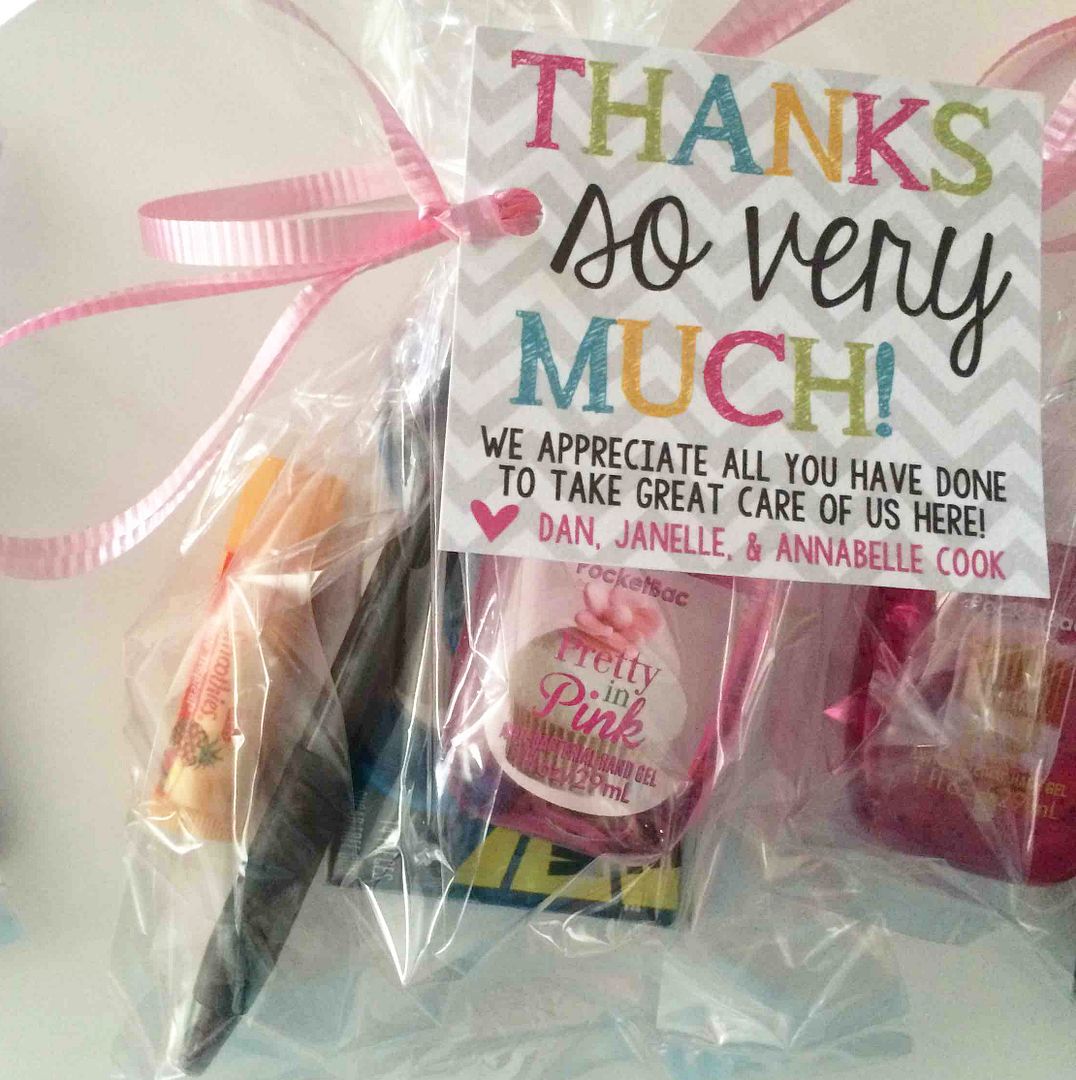
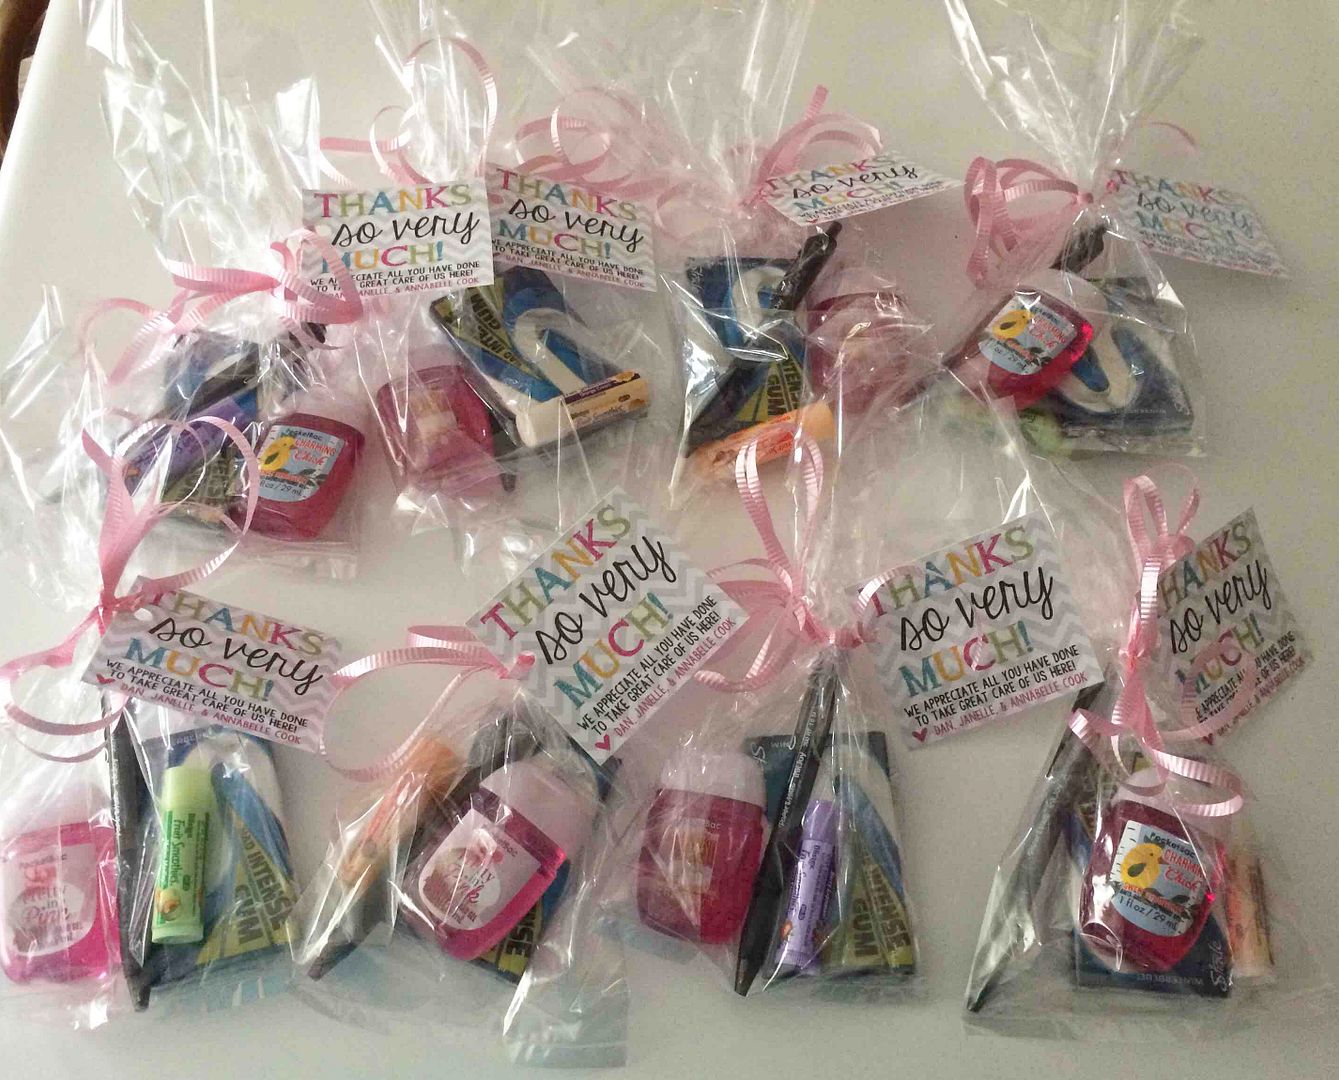
Since we made ourselves at home and REALLY got to know a few of the nurses and a couple doctors pretty well, I was so glad I'd prepared beforehand and made little gifts for them. It's not much, I know, but the hospital staff works super hard to keep everyone happy - especially those nurses! I know they don't expect gifts, but I bet they love being recognized for providing great care.


SUPPLIES

• cello baggies
• pink ribbon (or blue for a boy)
• gift tags (I made mine on Photoshop and printed them at Staples)
• bubble gum
• clicky pen (the clicky top makes it easier for them to use it one handed)
• chapstick (bonus points for nice ones that smell good!)
• hand sanitizer (Bath & Body Works has pretty and delicious smelling ones for less than a buck!)

I simply filled each bag and tied them shut with the ribbon, attaching the gift tag in the process!


I think the hospital staff enjoyed getting these little baggies... but I don't know if it was worth putting up with me for four days! ;-) 


Friday, January 15, 2016

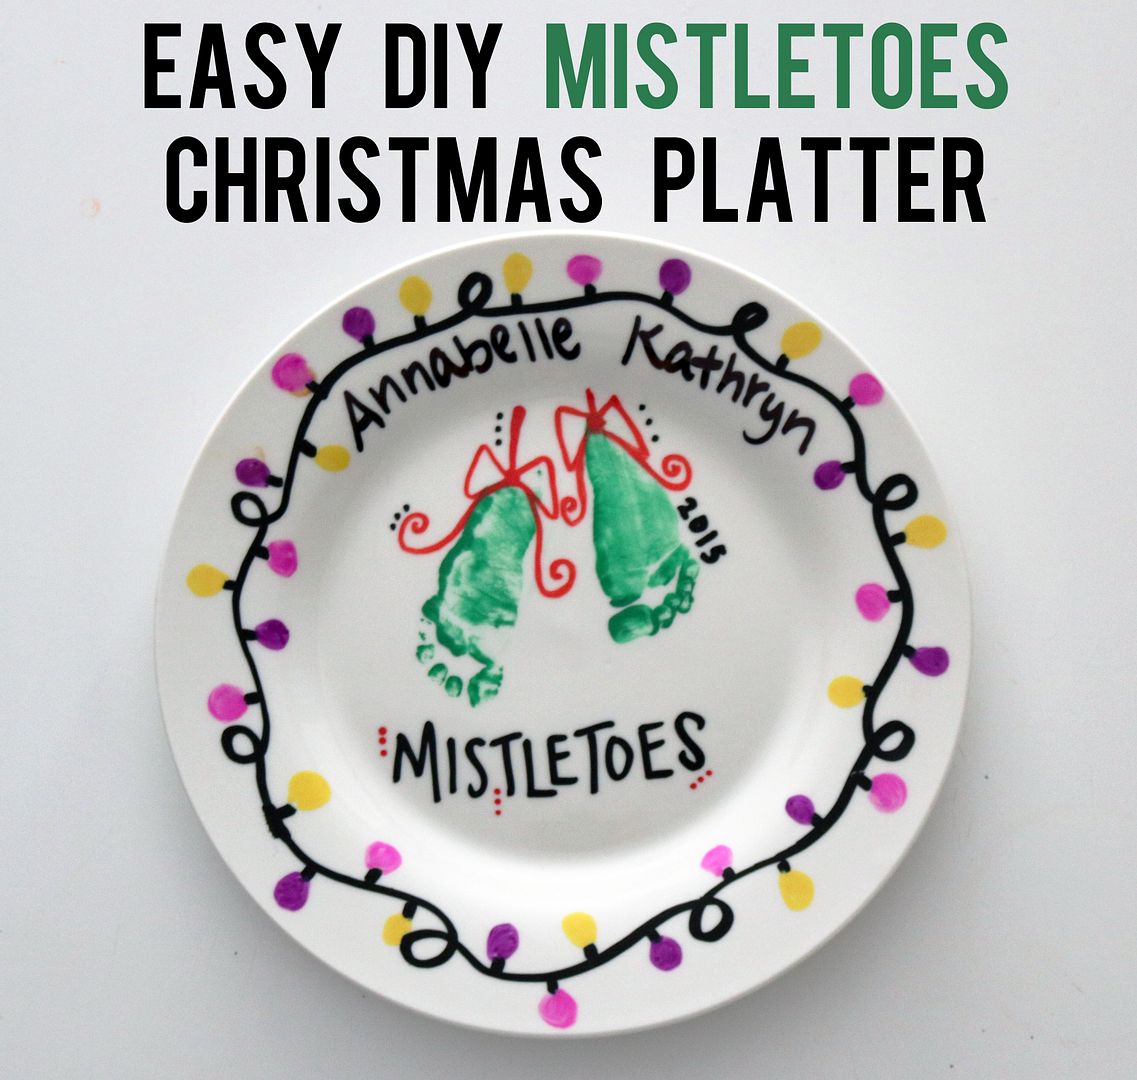
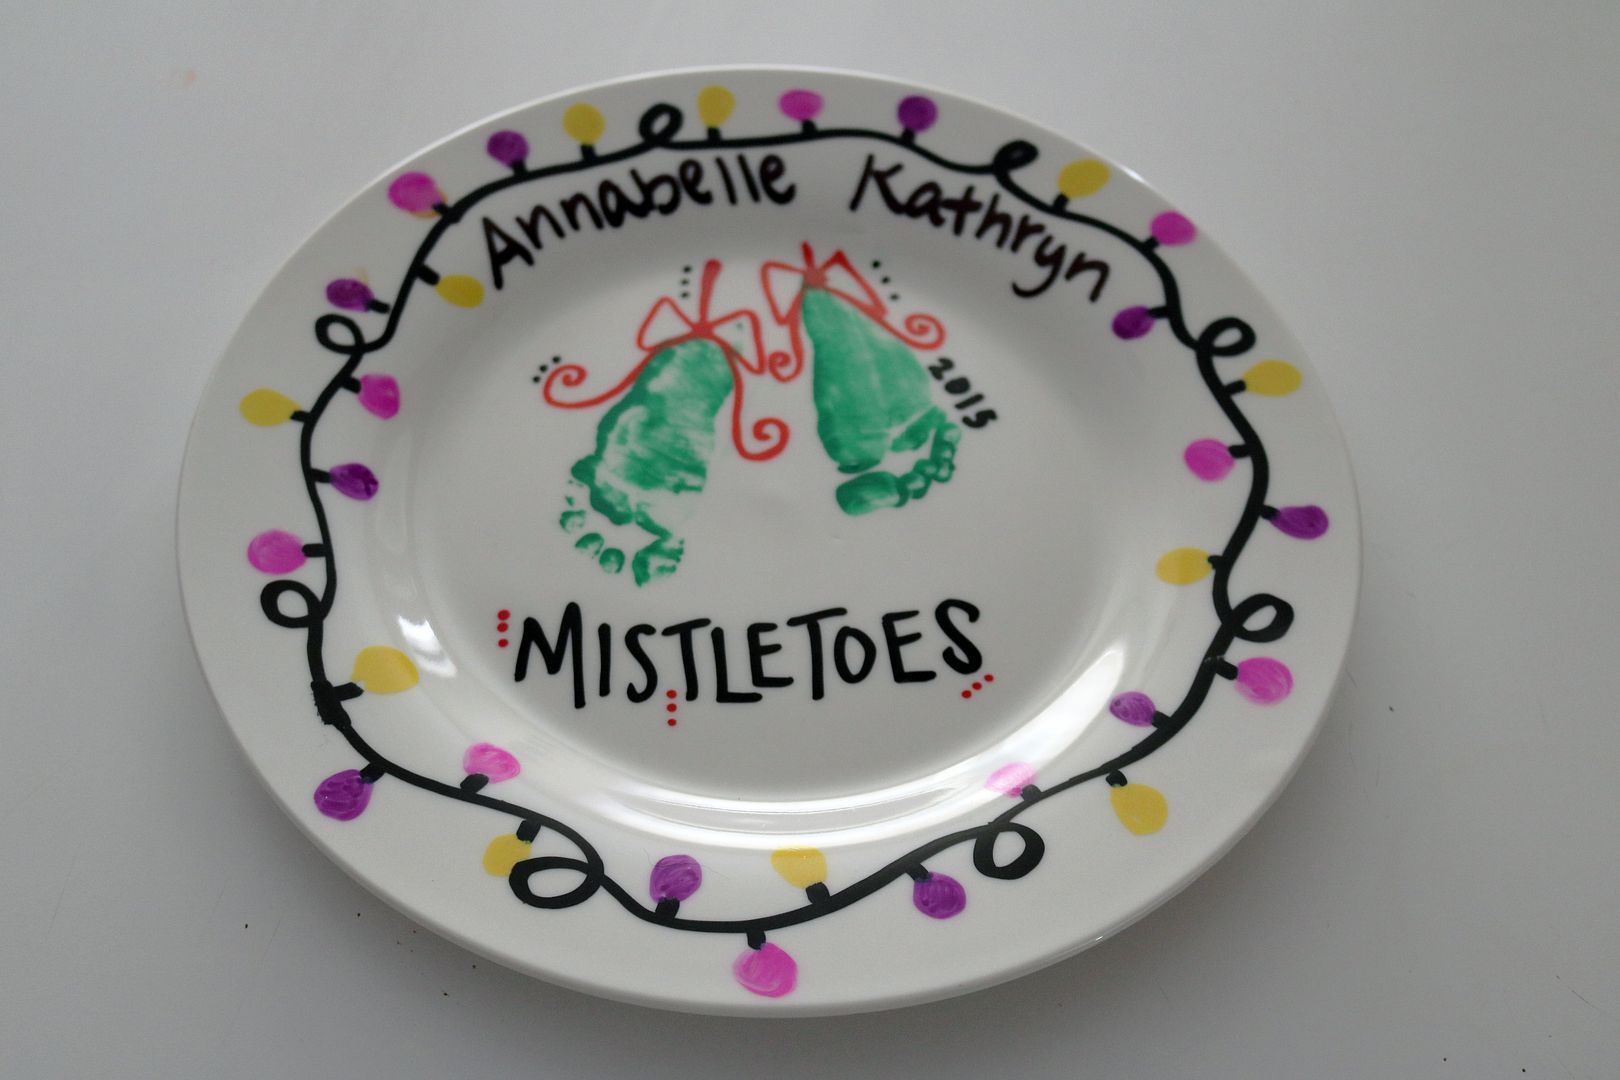
Easy DIY Mistletoes Christmas Platter

Okay, so if you have the squirmiest, wiggliest baby in the world like I do, the "easy" part of this may be subjective. Annabelle is in perpetual motion, so it's a difficult task trying to get her to be still... even if we try holding her down. But if your baby is normal... then this project will go much quicker!


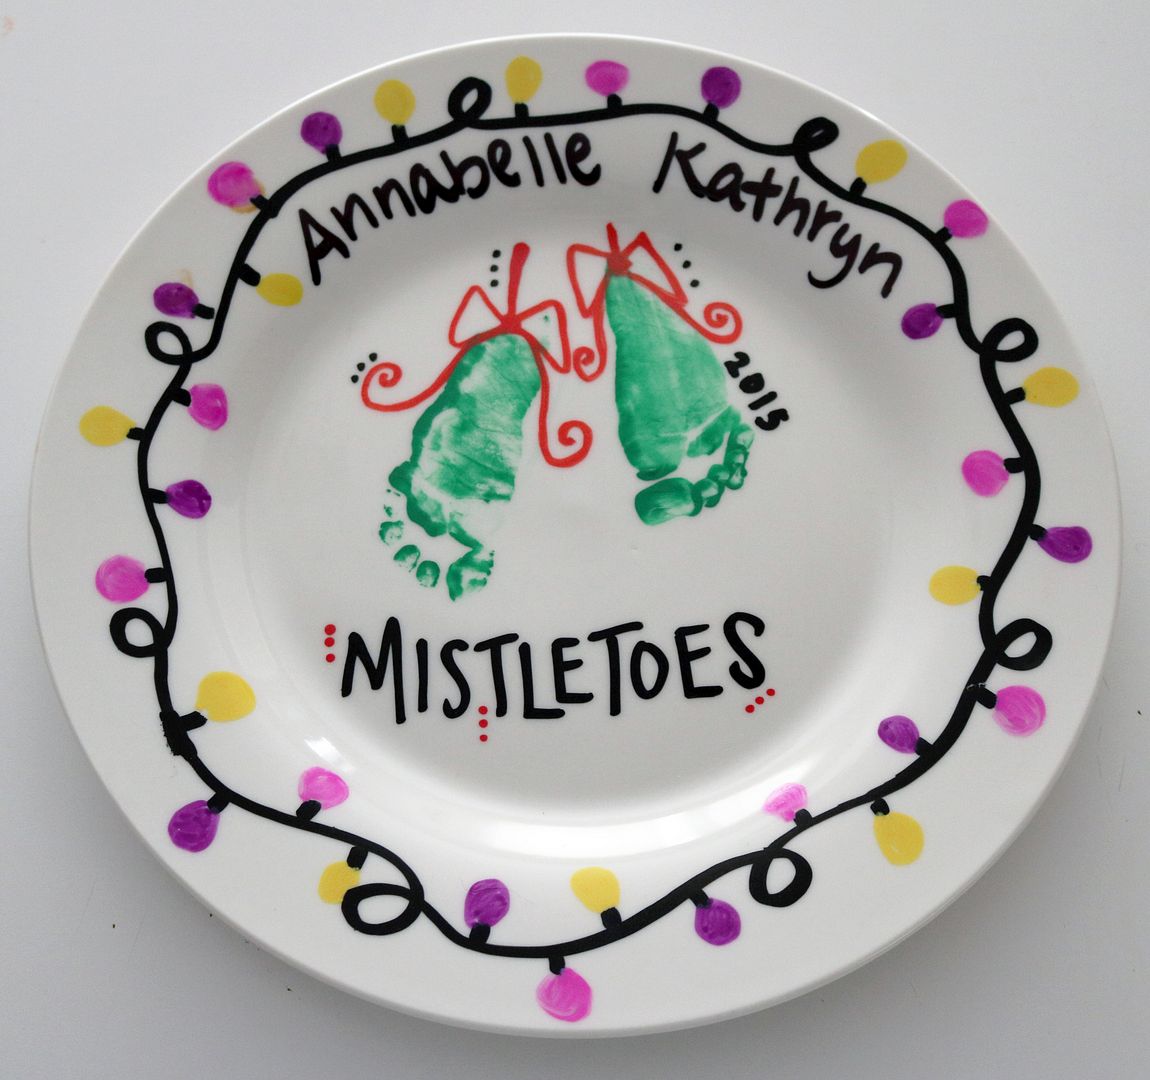
Since we live far away from family members, I wanted to make something special for them for Annabelle's first Christmas. I saw a lot of ideas floating around Pinterest-land, and I settled on the Mistletoes. I didn't want this on canvas, though, because I KNEW it would take us forever to actually get footprints. And we made THREE of these plates - one to keep, one for her Grammy, and one for her Great Meme! Since we could just wipe bad footprints off of plates and try again, I opted for these plain white ones from Dollar Tree. Yep, they were $1 each! 


All I did was use a foam brush to paint the bottoms of Annabelle's feet. We did one at a time. We got her right footprint on all three plates before moving on. We had to reapply paint after each plate. (And yes, we had to wipe the smeared footprint/paint off several times before we got a good one - baby wipes came in handy here). 

Once those dried, I used the paint pens to draw the bows over the footprints, and then I added the little dot embellishments. After that dried, I then drew on the string of lights with black on each plate. I let that dry for a couple hours, and then I did one color of light bulbs on all three plates... let it dry... did a second color... let it dry... did the third and final color... let it dry... and THE I wrote her name. 

After all of it is painted, place the plate into the oven, turn it on to 350º, and bake it for 30 minutes to set the colors in. Do not preheat the oven first - you want your plates to gradually warm up so they don't crack! 

Overall, I spent $3 for this project since I already had the paint and paint pens at home from other projects. If you don't, though, each color is only about $1 for regular paint and close to $2 for the paint pens! Not too bad, and you can use them again and again for other grandparent gifts throughout the year. 


Do you enjoy handprint / footprint crafts with your kids?


Wednesday, February 4, 2015

DIY Open When Letters for Your Spouse

When I was making the 12 Days of Christmas Gifts for my husband, I struggled to think of something for Day 11... which is where these fun "open when" letters came in.

I had seem these floating around Pinterest for quite a while and had wanted to make a set for Dan... but I just didn't have any reason to. What better time for a fun DIY gift than the 12 Days of Christmas?!


Dan and I have been writing handwritten letters to each other for years. Since we lived apart from each other for the first five years of our relationship (and long distance for one of those years), it's just something we do. I have a decorated box of all of the letters and cards I've received from Dan, and he has mine in sheet protectors in a binder. We also wrote each other letters the night before our wedding (we were not together). We sealed them up in the middle of our ceremony in a box with a bottle of wine, and we plan on opening them either on our five year anniversary or when we need to remember all of the emotions and love we were feeling the night before tying the knot!

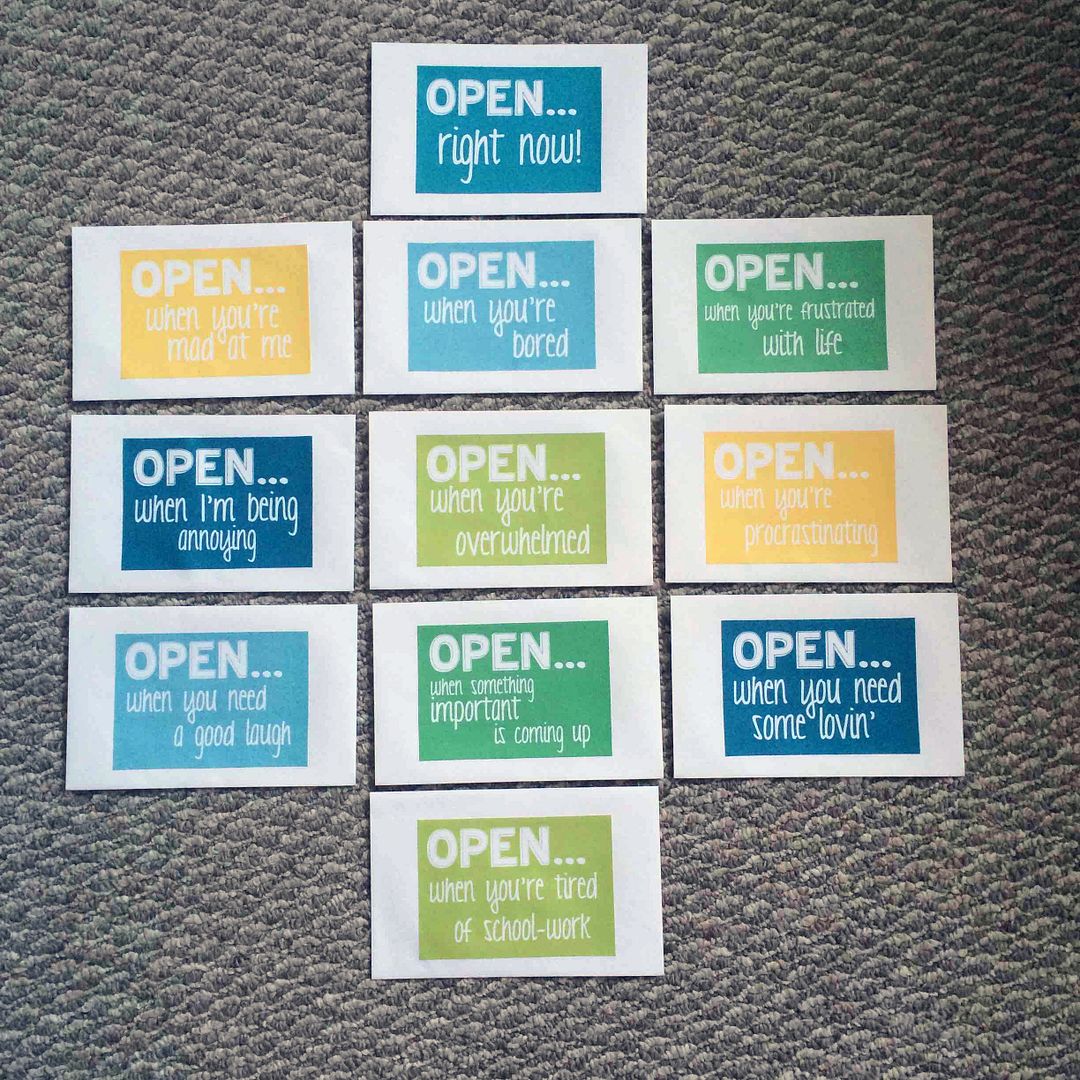
For this project, I started by creating 11 different labels - or the categories I wanted to write letters for. I tried to make them colors he would like rather than my favorite colors. It was fun to come up with the topics, but my husband did tell me that he'd need about a thousand of the "when I'm being annoying" letters. Oops.

I printed out the labels on cardstock and then glued them to plain white envelopes with a glue stick. Nothing fancy over here...

Inside each envelope, I placed a one page (or longer) letter the corresponds with the topic. I bundled them all together, wrapped them up, and gave them to my husband. He thought it was a really clever gift, and he has them sitting on his desk in his office now so he can open them when the time is right for each one!

If you would like to download my card covers, CLICK HERE for the PDF.

  • Do you and your spouse write letters to each other?
  • Do you enjoy making or receiving DIY gifts?

Monday, May 26, 2014

Graduation Gifts for Friends

This week is graduation week at The US Air Force Academy! It's a week I've been waiting for for FIVE years!

Tomorrow is commissioning, where the cadets have their cadet rank taken of of their shoulders and pin on 2nd Lieutenant. Wednesday is the actual graduation day, complete with 5+ hours inside Falcon Stadium and a performance by the Thunderbirds!

It'll be an exciting week for sure, and there won't be much downtime. Because of that, we got together with Dan's (and mine now) closest cadet friends to all celebrate and spend time together one last time before they all head off to different bases this summer.

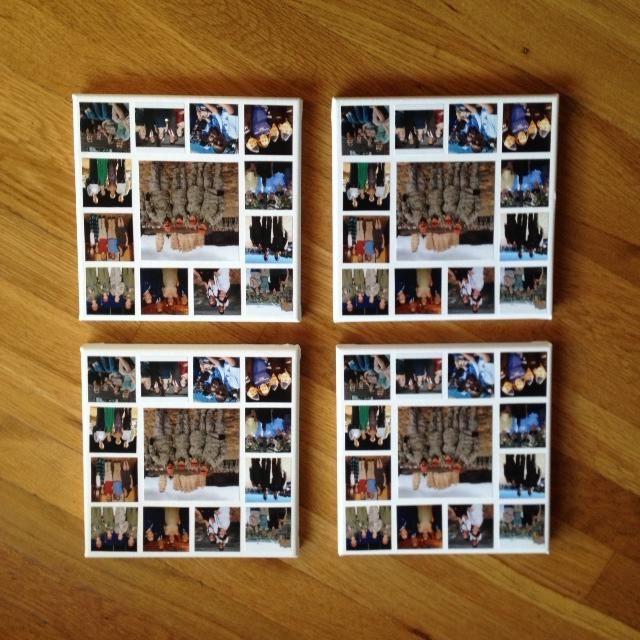
Since I have gotten to know them so well over the years, I wanted to give them something personal as a "YAY, CONGRATS; YOU MADE IT THROUGH USAFA" gift. After much deliberation, I decided on making them a collage with photos of all of them together. I made four identical collages, one for Dan, one for Aaron, one for Lindsey, and one for Kaylon! I am so proud of all of their hard work, and they will be amazing officers in the Air Force for years to come.

These four have been together since they were in the same squadron at the USAFA Prep School from 2009 to 2010. They have an amazing friendship, and I'm super sad that we won't be near ANY of them after this week. I will miss them for sure, but we'll definitely visit!


  • Have you ever been blessed with AMAZING friends at a base?
  • Any tips for staying in touch regularly?

Friday, October 18, 2013

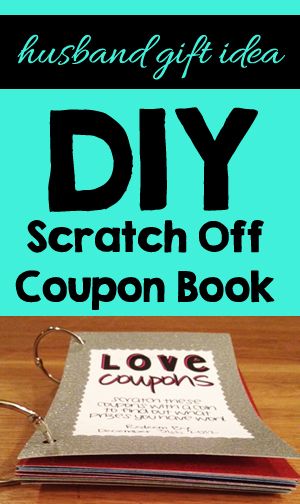
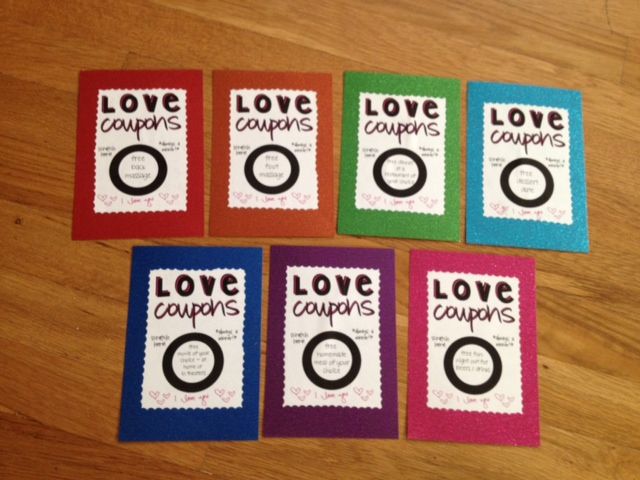
DIY Scratch Off Coupon Book


This post is overdue. And that is an understatement. What I mean is that I made this scratch off coupon book over a year ago. I gave it to my fiancé last October. Yes, it's been a year. And yes, I should have shared this months ago... but hey, I am just getting around to it, so take it or leave it. 

I first got this idea when I was trying to figure out something special and unique for Dan. I feel like I'm always giving him things I make, and while I know he enjoys them, I wanted to do something different. This coupon book won. 

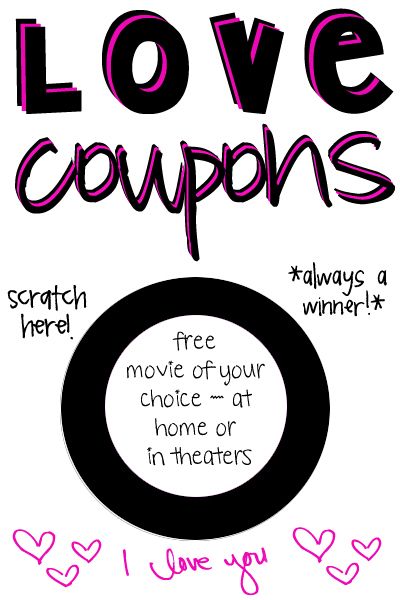
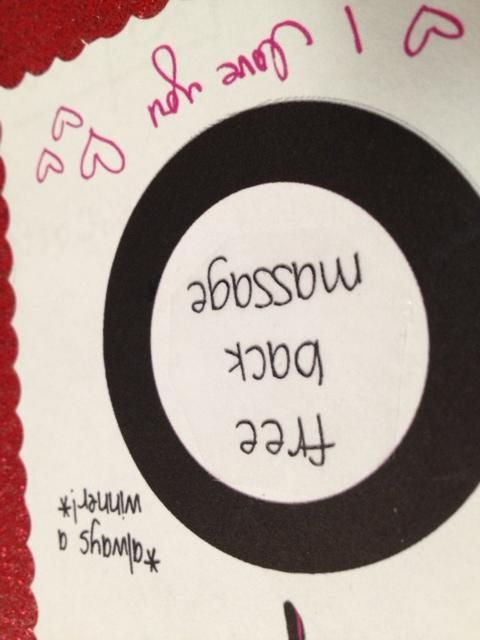
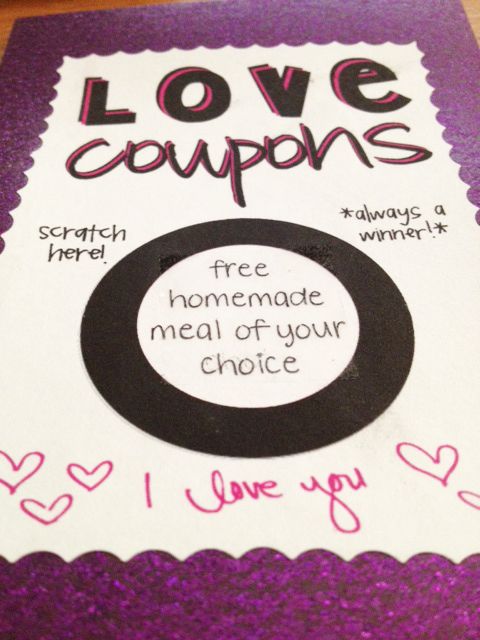
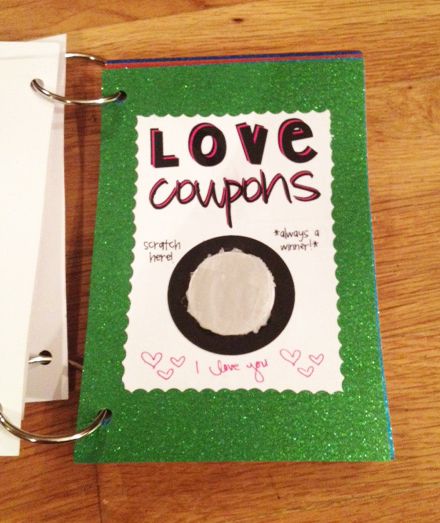
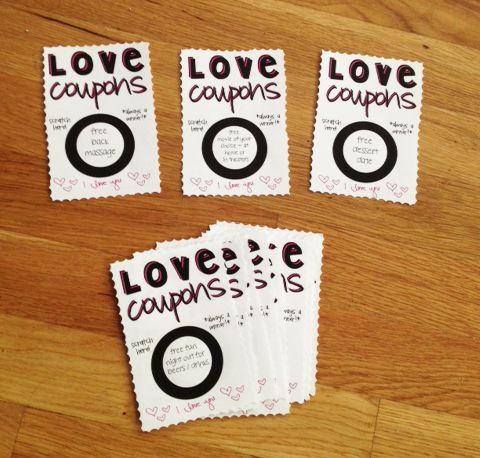
First, I made each page on Adobe Photoshop. They look like the example below, but there are 14 coupons in total in the book I made. 


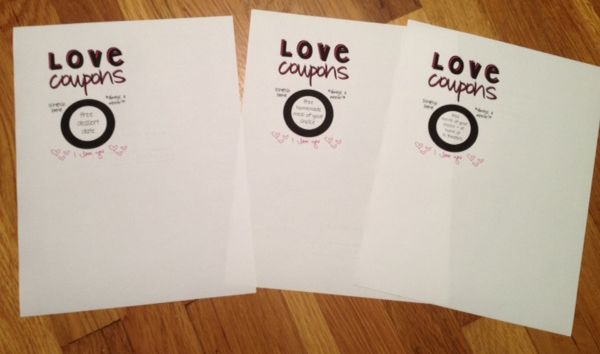
Then, I printed the coupons out from my inkjet printer at home. They're nothing fancy, but they look nice enough to be considered "special".

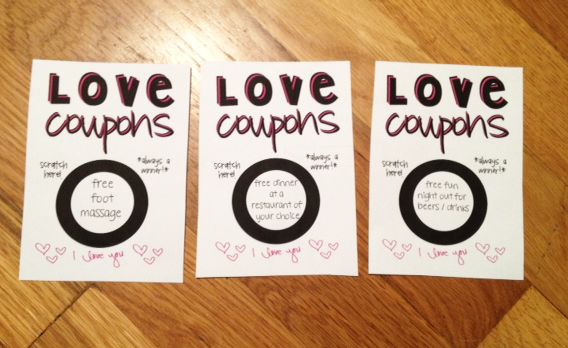
After that, I chopped them up so they were the right size. I needed them to fit on 5x7 cardstock that I had picked out, so I just cut them down.


Before gluing them onto the cardstock, I used my "fancy scissors" to make them look a little nicer and less plain.


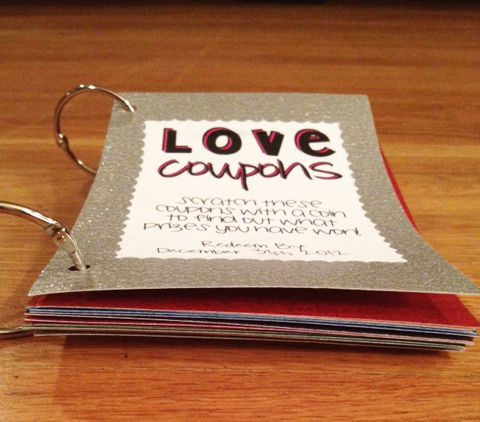
And then I glued them on. I chose several different colors of glittery cardstock so these would look fun and go with the "scratch off" theme. Dan loves gambling, so I thought this would be especially fun for him.


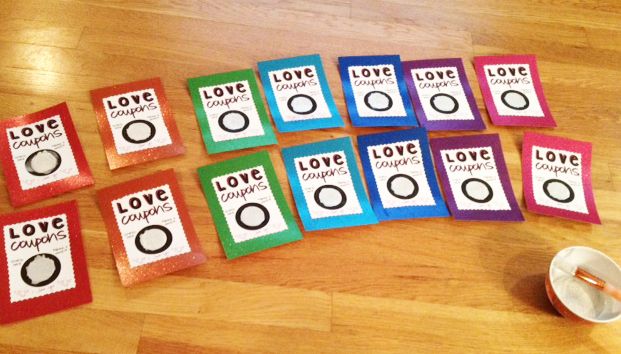
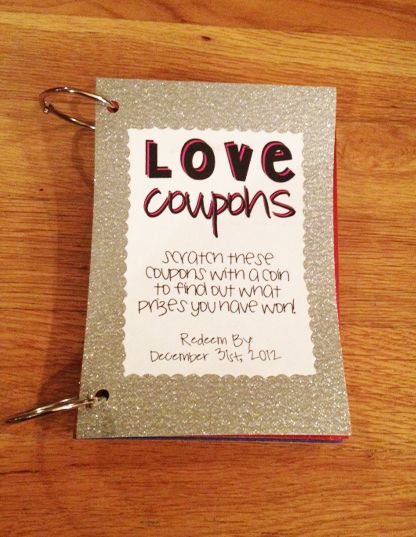
After they were all glued on, I decided to make the "scratch off" part. This wasn't difficult, but it was slightly time consuming. I first covered each circle with clear packing tape. This took a while because I wanted the tape to only fill the circles, and tape is difficult to cut. Trust me. If you haven't tried, have fun. Then, I mixed liquid dish soap with silver acrylic paint to make the "scratch off" solution. I simply painted the mixture (sloppily) into the circles. The first ones looked awful. I got progressively better at it. I feel like if I do this again, it will look much better. If you want to try this, do a few practice circles first!


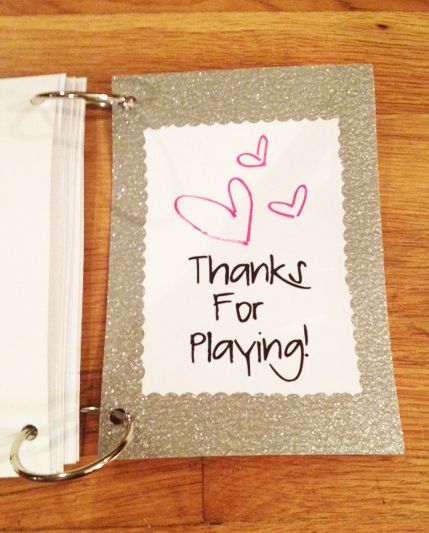
After the paint dried, I put the cardstock pages in the order I wanted them in (obviously arranged by color because I'm just like that) and hole punched the sides. I held them together with binder rings. I am such a teacher, but it worked really well. 


Overall, I am extremely happy with how this project turned out. Dan had a lot of fun using the coupons for various things. The great part of this project is that you can customize the coupons so that your boyfriend/fiancé/husband loves each of them!
  • Have you ever made a coupon book?
  • What's your favorite homemade gift you've given your significant other?
  • Does your significant other enjoy the projects you make for him?

Monday, August 5, 2013

Military Monday: Favorite Gift

Bear with me if you've already seen this post (on my old blog, Always Write 2012). I am slowly but surely trying to transfer all of my DIY projects to THIS blog so people don't keep finding by crafts on my OLD blog. I want them reading over here!
This week, I have decided to link-up with Eights on the Move  for her Military Monday topic. I haven't participated in her first two topics because they didn't relate to me, but luckily this one does! Her prompt was:

What has been your most meaningful or favorite military-related gift to give or receive? 

Check out the link-up by clicking on the banner below:


One year ago marked a very special milestone for my fiancé, Dan. He attended a dinner in August of 2012 that we had both been waiting for. The Commitment Dinner at the United States Air Force Academy is something to remember and something to be proud of, and I decided to do something special for him.

Every cadet who intends on staying at the Academy for the last two academic years (junior and senior years) must commit to the United States Air Force. You may be thinking, "Didn't he do that when he enlisted?" Or you may think, "I'm pretty sure he made that commitment when he went to the USAFA Prep School or in-processed at USAFA." Well, you're kind of right and kind of not.

You see, any cadet can choose to "drop out" of the Academy at any time with NO penalties until the start of their junior year. Since Dan was becoming a Cadet Second Class and beginning his junior year (as of now, he is officially a SNIORE, though!) of courses bright and early this morning, the Commitment Dinner for his class, the class of 2014, was held. This is where they FULLY COMMIT to the Air Force. This means they HAVE to serve for five years post-graduation (or ten if they become a pilot). THIS is the real deal. It also means that if a cadet chooses to leave after this point, they have to pay back the money for the education they received no matter what.

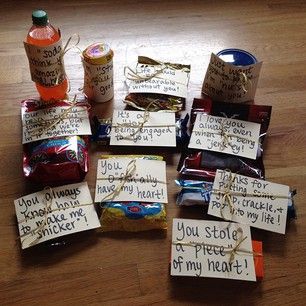
Because Dan was out of town for a Flying Team competition the previous fall when the class of 2014 had their Exemplar Dinner, I was very excited that he was able to attend this milestone event. I may have gotten a tad bit carried away, but I wanted to show Dan how proud I am of him for making this commitment for our future and show him how much it means to me. I decided to put together a fun little basket of goodies, complete with silly tags to go with them. I found the idea on Pinterest (from this blog), but I did add a few of my own. When I gave this to him, he was shocked that I had gotten him a gift for Commitment. I wholeheartedly want him to know how big of a deal this is. His journey through the military has been a long one since he took a nontraditional route, and he deserves so much more than I can give him.

If you don't know the story, he went to the University of Central Missouri for two years, where he pursued an Aviation degree. Near the end of his sophomore year, however, he was accepted to the United States Air Force Academy's Preparatory School. That means that by the time he graduates with his Bachelor's degree in 2014, he will have been in college for SEVEN YEARS. That is persistence. He didn't have to choose this path. He didn't have to continue when things got tough. But he did. He chose this path, and he should be proud of it. As nervous as I was about being a military girlfriend just a few short years ago, I can now imagine nothing other than being a proud military wife, and I look forward to becoming just that in under 10 months!

Now, here are the pictures of his Commitment Dinner gift:

I started by gluing scrapbooking paper to the back of cardstock to make the tags

On the other side, I wrote the silly tags

Then, I gathered the goods! 

I can't forget the card...

... and the inside! :) 

It's all sealed up in the envelope! 

I wrote on the inside of the bucket so he could keep it in his room without being embarrassed. Oh, and it is red, his class color, not pink! I included his squad from the Prep School, his four-degree squad, and the squad he is in now! :)


Do you make fun gifts for your significant other? 
If so, tell me about them!