Friday, November 8, 2013

Recipe: Vegetarian Stuffing

As we approach Thanksgiving, I've decided to showcase some of my absolute FAVORITE vegetarian side dishes. Since I don't eat turkey, I live on sides during the holidays... and I wouldn't have it any other way! Side dishes are the BEST, so I'll be posting one recipe a week until Thanksgiving to give ideas to my fellow vegetarians (or anyone with taste buds, really). 

*Note: if you are making this vegetarian, please check the ingredients on the stuffing package. Many include cooked chicken, chicken stock/broth, and/or chicken fat. I have found that many of the name brands are off limits, but the store brand where I live (Safeway) is completely meat-free!

Ingredients Needed:1 Package Stuffing Mix
1/2 Onion (chopped)
5 Celery Stalks (chopped)
3-4 Carrots (chopped)
1/2 Cup Butter (melted)
1 1/2 Cups Water or Broth (I use vegetarian "No Chicken" broth from Whole Foods)

The Recipe:
1. Melt butter in saucepan.
2. Add onion, celery, and carrot, and sauté until tender, about 5-7 minutes.
3. Add stuffing mix to saucepan.
4. Add water or broth a little at a time, tossing to mix.
5. ENJOY!


Monday, November 4, 2013

Blog Planning - What Do YOU Do?

Blog planning is something that is on my mind often.

I think about the topics I want to post about. I try to decide when the best time to post about said topics would be. I make lists on paper. I make lists on my MacBook Pro. I cross out, and I draw arrows. It's a very confusing system I have.

The best way to plan that I have found for myself is setting up a calendar in Microsoft Word. Then, I just fill in the topics I want to post about on which days. I aim for a post every Monday, Wednesday, and Friday, but that doesn't always work out.

After I have my schedule made for the month, I begin writing my posts. I do them sporadically - whenever I feel something strongly, I know it's time to write about it. Yes, I sometimes force myself to cover topics I once felt would be good and later end up not really caring about, but more often than not, I only post about topics when I feel like it. If I'm scheduled to post a recipe or book review, but I'd rather just post a life update or share photos from Instagram, I will put the recipe or book review on the back burner for a few days.

Do you have a better system for blog planning? If so, I would LOVE to hear your ideas! If I receive enough, I will make another post soon sharing the ideas and linking back to your blogs! 


Wednesday, October 30, 2013

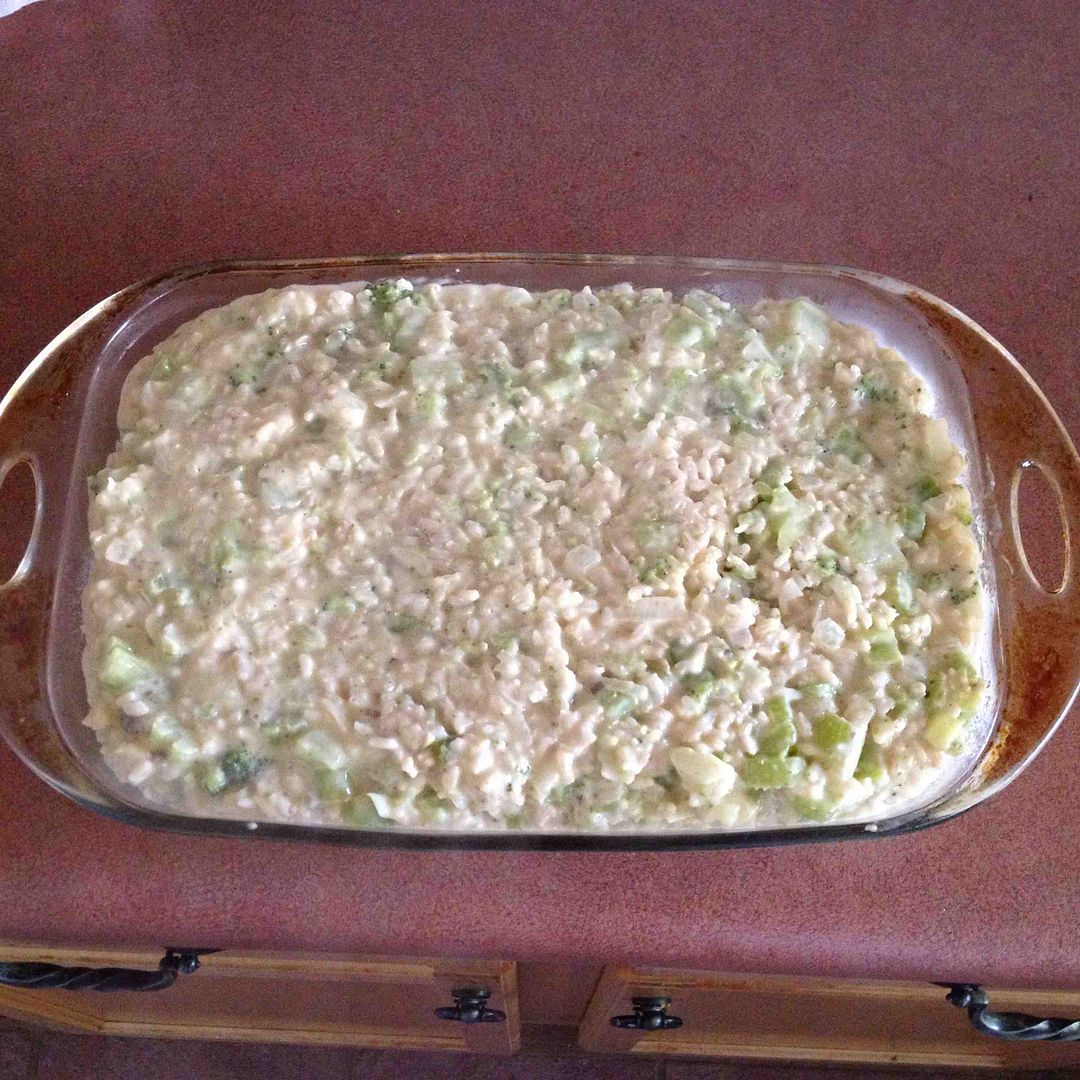
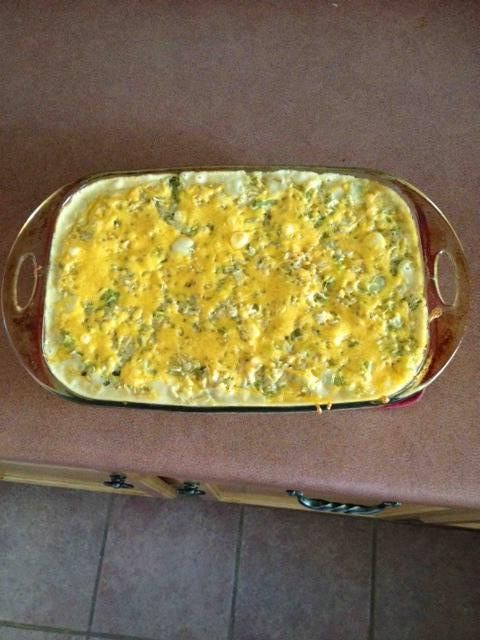
Recipe: Cheesy Broccoli & Rice Casserole

As we approach Thanksgiving, I've decided to showcase some of my absolute FAVORITE vegetarian side dishes. Since I don't eat turkey, I live on sides during the holidays... and I wouldn't have it any other way! Side dishes are the BEST, so I'll be posting one recipe a week until Thanksgiving to give ideas to my fellow vegetarians (or anyone with taste buds, really). 

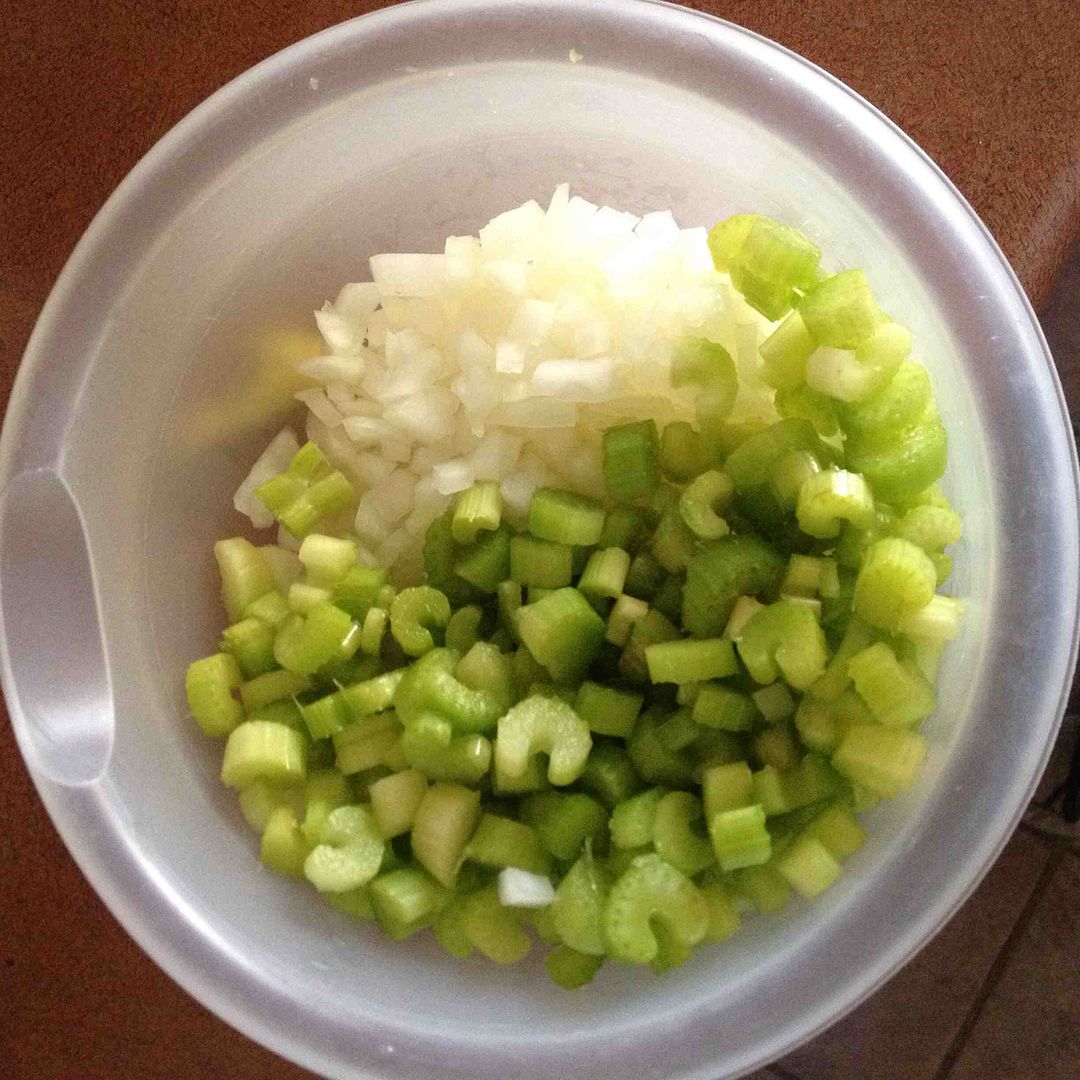
Who doesn't love a good casserole? That's my thinking, anyway. Casseroles are ALWAYS a big hit. When you take one somewhere, you come home with no leftovers, and that's how it should be. The cheesy broccoli and rice casserole will leave you empty-handed (and full-stomached). I even sneak in extra veggies (onions and celery, but carrots and zucchini would be great as well).

Ingredients Needed:
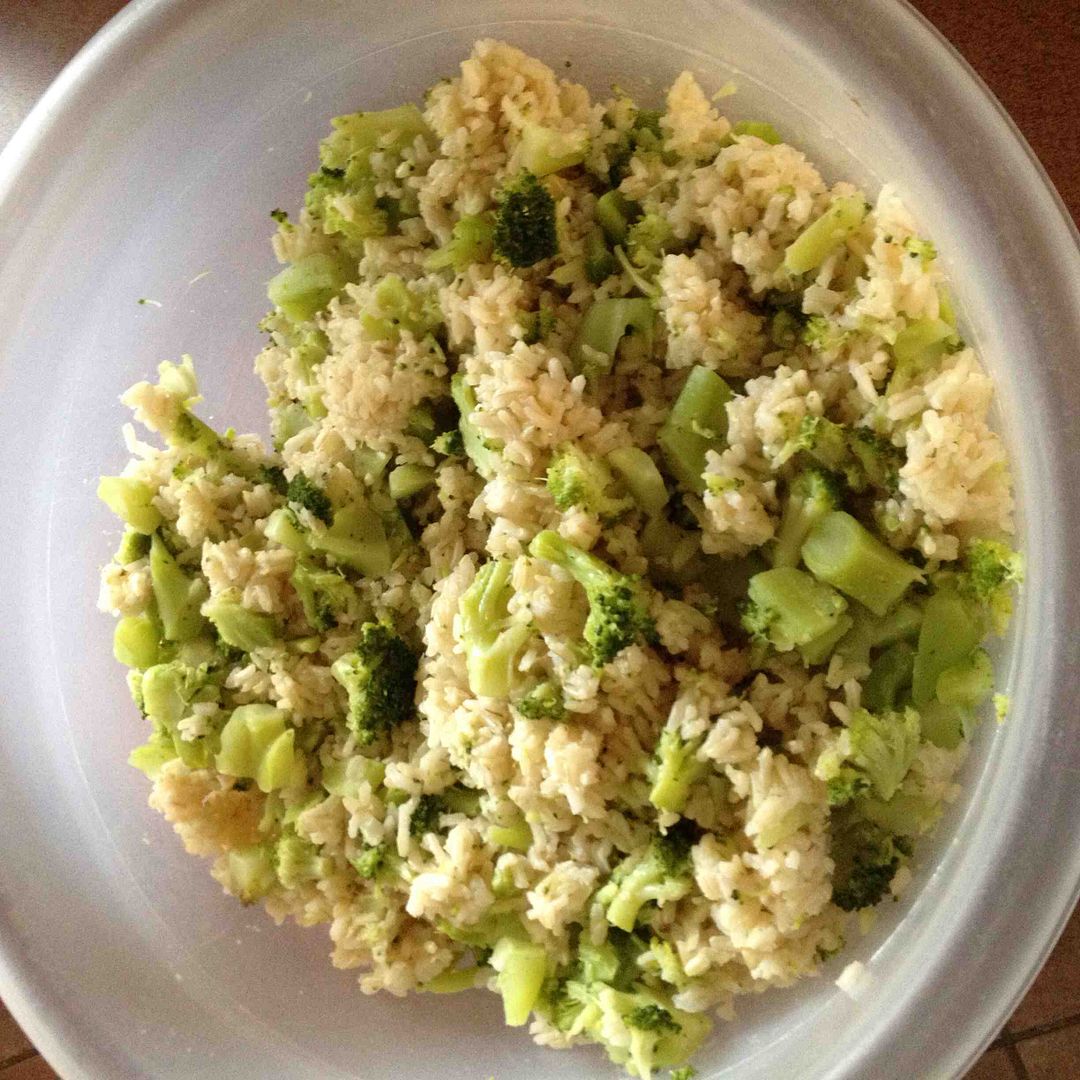
2 Cups Rice (I use long grain brown rice)
20 Ounce Bag of Frozen Broccoli
1 Can Cream of Mushroom Soup
1 Can Cream of Celery Soup
1 1/4 Cups Water
1 Onion (diced)
Celery (I use five pieces or so - diced)
2 Tablespoons Olive Oil
8 Ounces Velveeta Cheese
4 Ounces Sharp Cheddar Cheese (or any flavor you prefer / have on hand)

The Recipe:
*Pre-heat the oven to 350 degrees
1. Cook rice according to package directions. Set it aside.
2. Sauté the onions and celery in olive oil until tender (about 7 minutes).
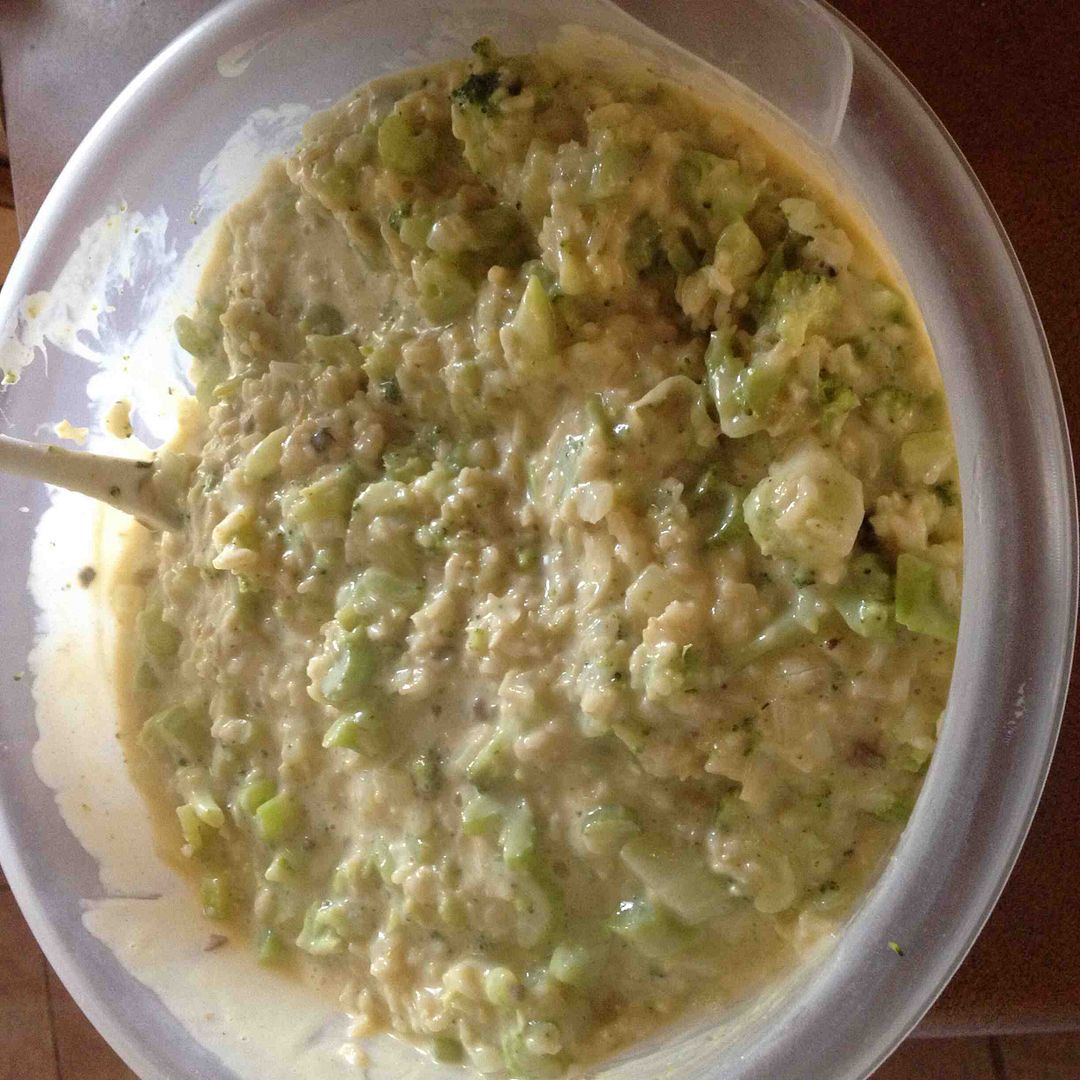
3. Combine both soups and water in saucepan, and mix well.
4. Add Velveeta cheese to soup mixture, and stir until it is all melted. 
5. Cook frozen broccoli in boiling water according to package instructions.
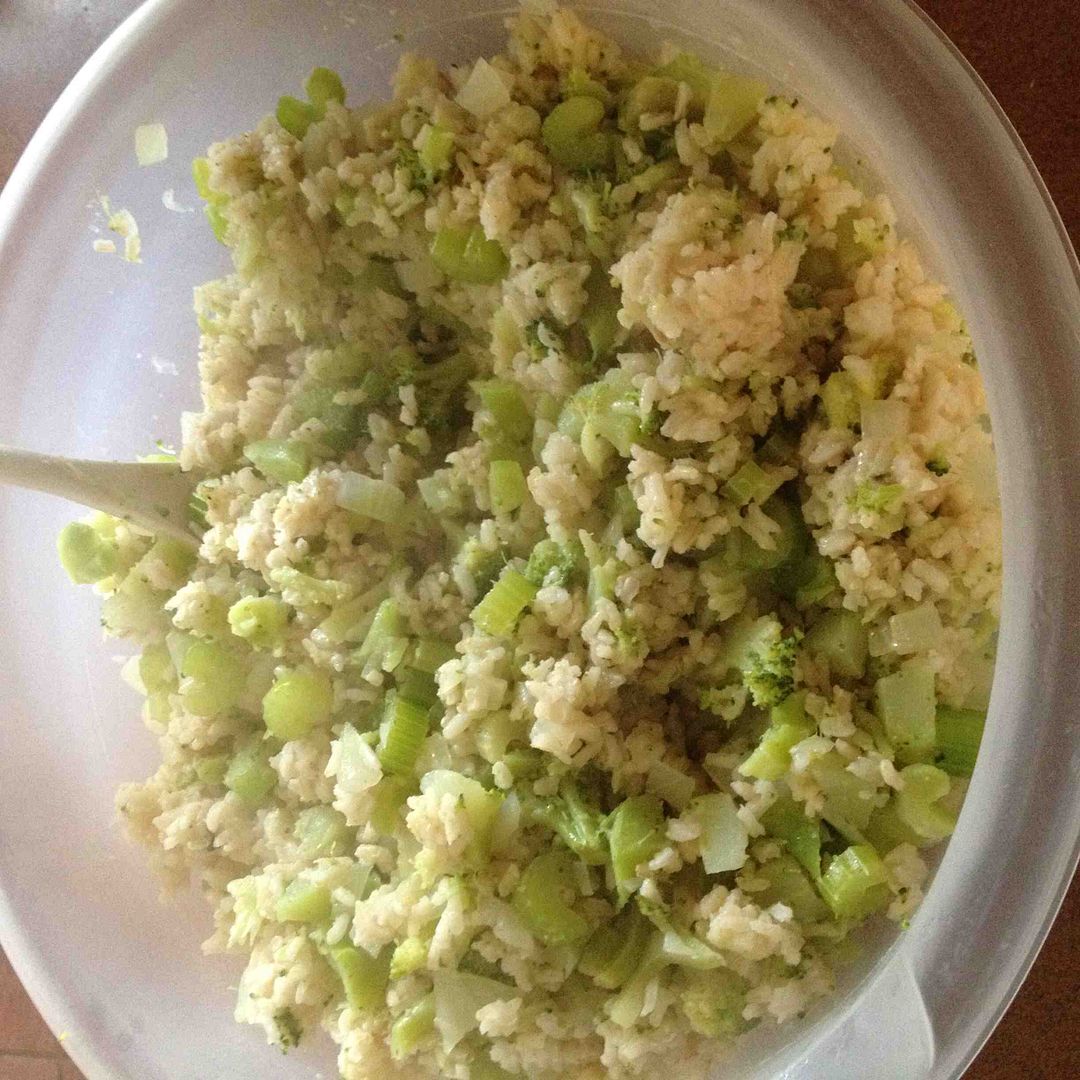
6. Mix rice, broccoli, onions/celery, and soup/cheese mixture together in a large bowl, and mix well.
7. Pour into casserole dish.
8. Bake for 35 minutes in the oven.
9. Add cheddar cheese to the top of the casserole.
10. Bake for an additional 10 minutes.
11. ENJOY!


This is one of my go-to recipes. I make it in bulk and divide the contents into individual containers. This makes six days of lunches for me to take to work with me, and it's so easy to just grab a container and go in the mornings. It's also filling enough to be an entire meal (but having a piece of fruit along with it is great too!).


Monday, October 28, 2013

Life Lately

I haven't made any personal posts lately, so I thought I'd do that this morning.

Instead of another recipe (but just wait -- more are coming!) or book review, I decided to share what's been going on lately. This is not an all-inclusive list, but it's just some things I felt like sharing with my wonderful readers. 

1. I had a three day weekend, and it was much needed. We had parent/teacher conferences at school on Wednesday night and Thursday morning last week, so we all got Friday off. Sleeping in was wonderful, and I feel slightly recharged (but I think Thanksgiving break in about a month will really do the trick). 

2. My sports teams are doing really well this year, which is a nice change. My baseball team, the Kansas City Royals, barely missed the playoffs, but they had their BEST SEASON in several years. It was so much fun to cheer them on. My favorite college team, the University of Missouri Tigers, are 7-1 this football season, which is only their second in the SEC. They are holding their own and doing EXTREMELY well. My absolute favorite team of all time, though? The Kansas City Chiefs. And they are 8-0 for the first time in TEN years. This is pure excitement on my end. It's so much more fun being a fan to a winning team... but win or lose, I've always been faithful to my Missouri sports. 

3. I got to see one of my best friends ever this weekend! Lizzie came out to Colorado to see her husband for a quick weekend while he's at training, and we were able to see each other twice, which was so wonderful. It's really hard having a long distance best friendship... we talk every single night, sometimes for hours, and it was great to see her in person and have Jack Quinn's together one more time. 


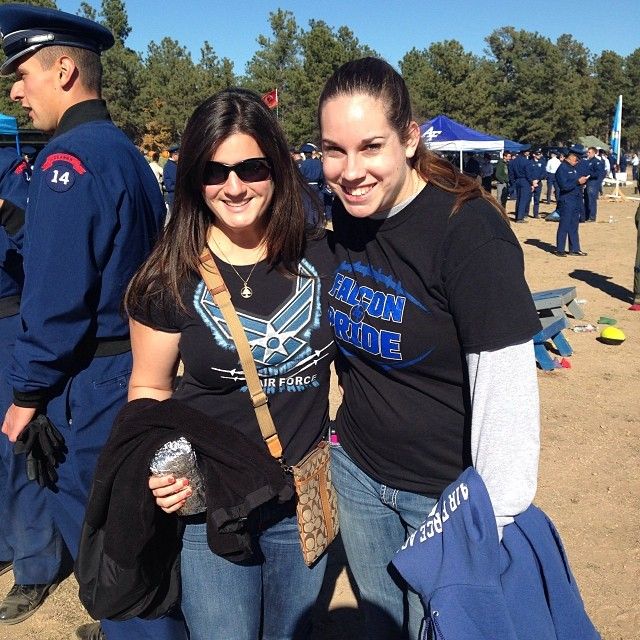
4. Reality is setting in that Cadet Lovemuffin graduates from the Air Force Academy in just 212 days. He has been working his butt off for over four years now for this, and I can't believe that the end is finally approaching (but it could still be quicker, and I'd be okay with that). I will only be his fiancée for 214 more days; after that, I will be his wife, and I could not be ANY HAPPIER about that. This has been a really long road, but I am so ready for this part of our journey to conclude. He was supposed to find out his Air Force AFSC (job) a couple weeks ago, but that has been delayed due to the government shutdown (yes, I know it's over; no, he still doesn't know when he'll find out). Keep him in your thoughts as he waits to find out because this is a HUGE deal! 


Friday, October 25, 2013

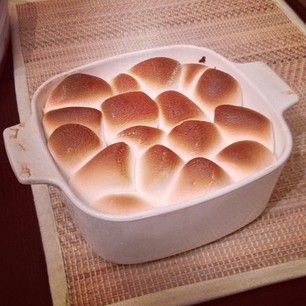
Recipe: Candied Sweet Potatoes

As we approach Thanksgiving, I've decided to showcase some of my absolute FAVORITE vegetarian side dishes. Since I don't eat turkey, I live on sides during the holidays... and I wouldn't have it any other way! Side dishes are the BEST, so I'll be posting one recipe a week until Thanksgiving to give ideas to my fellow vegetarians (or anyone with taste buds, really). 

Sweet potatoes are one of my favorite foods on earth. I absolutely love them plain. They make a fantastic dinner all on their own. That said, during the fall, I LOVE jazzing them up a bit by using the canned kind (come on - it seems like a treat even if it isn't!) and adding lots of yummy toppings. This dish makes the perfect accompaniment to a Thanksgiving feast, or it works well for a dessert.

Ingredients Needed:
1 15 Ounce Can Yams (Drained)
1 Teaspoon Butter
2 Tablespoons Water
2 Tablespoons Brown Sugar
1/2 Teaspoon Cinnamon
1/2 Teaspoon Nutmeg
Handful (Vegetarian) Marshmallows (Whole Foods has gelatin free marshmallows)

The Recipe:
*Pre-heat the oven to 350 degrees
1. Melt butter in a skillet.
2. Add water, brown sugar, cinnamon, and nutmeg.
3. Heat two minutes - until bubbly
4. Add yams to a baking dish.
5. Spoon sauce from skillet over the top.
6. Bake for 15 minutes.
7. Add marshmallows to the top.
8. Bake for another 5 (or so) minutes - until marshmallows brown on top
9. ENJOY!